Remote Staking via XCM
by Kevin Neilson
Introduction
In this tutorial, we’ll stake DEV tokens remotely by sending XCM instructions from an account on the Moonbase relay chain (equivalent to the Polkadot relay chain). This tutorial assumes a basic familiarity with XCM and Remote Execution via XCM. You don’t have to be an expert on these topics but you may find it helpful to have some XCM knowledge as background.
There are actually two possible approaches for staking on Moonbeam remotely via XCM. We could send a remote EVM call that calls the staking precompile, or we could use XCM to call the parachain staking pallet directly without interacting with the EVM. For this tutorial, we’ll be taking the latter approach and interacting with the parachain staking pallet directly.
Note that there are still limitations in what you can remotely execute through XCM messages. In addition, developers must understand that sending incorrect XCM messages can result in the loss of funds. Consequently, it is essential to test XCM features on a TestNet before moving to a production environment.
Checking Prerequisites
For development purposes this tutorial is written for Moonbase Alpha and Moonbase relay using TestNet funds. For prerequisites:
- A Moonbase Alpha relay chain account funded with some UNIT, the native token of the Moonbase relay chain. If you have a Moonbase Alpha account funded with DEV tokens, you can swap some DEV for xcUNIT here on Moonbeam Swap. Then withdraw the xcUNIT from Moonbase Alpha to your account on the Moonbase relay chain using apps.moonbeam.network
- You'll need to calculate the Computed Origin account of your Moonbase Alpha relay chain account and fund it with DEV tokens. You can get DEV tokens for testing on Moonbase Alpha once every 24 hours from the Moonbase Alpha Faucet
Calculating your Computed Origin Account
Copy the account of your existing or newly created account on the Moonbase relay chain. You're going to need it to calculate the corresponding Computed Origin account, which is a special type of account that’s keyless (the private key is unknown). Transactions from a Computed Origin account can be initiated only via valid XCM instructions from the corresponding account on the relay chain. In other words, you are the only one who can initiate transactions on your Computed Origin account, and if you lose access to your Moonbase relay account, you’ll also lose access to your Computed Origin account.
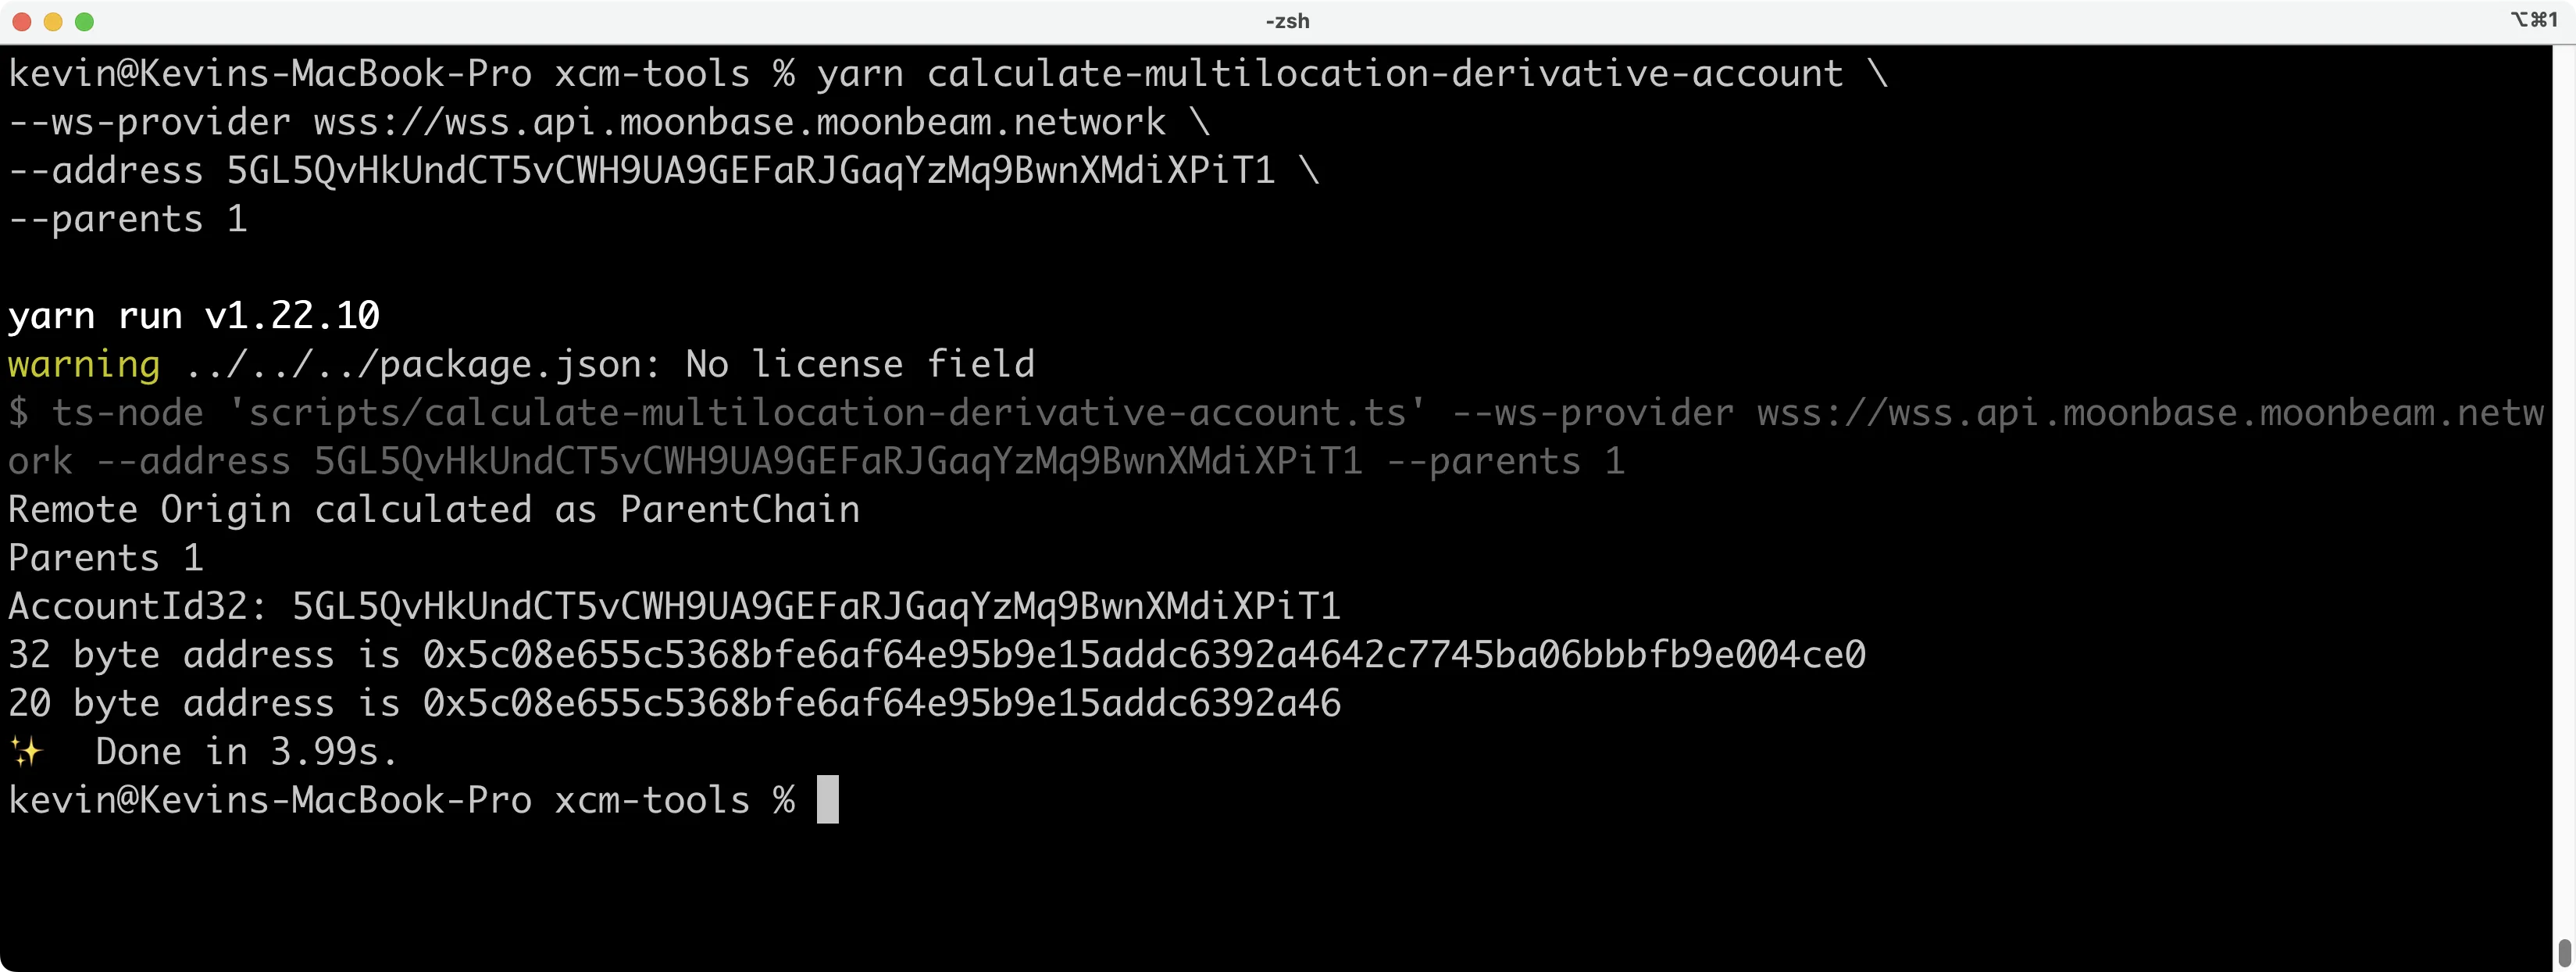
To generate the Computed Origin account, first clone the xcm-tools repo. Run yarn to install the necessary packages, and then run:
yarn calculate-multilocation-derivative-account \
--ws-provider wss://wss.api.moonbase.moonbeam.network \
--address INSERT_MOONBASE_RELAY_ACCOUNT \
--para-id INSERT_ORIGIN_PARACHAIN_ID_IF_APPLIES \
--parents INSERT_PARENTS_VALUE_IF_APPLIES
Let's review the parameters passed along with this command:
- The
--ws-provideror-wflag corresponds to the endpoint we’re using to fetch this information - The
--addressor-aflag corresponds to your Moonbase relay chain address - The
--para-idor-pflag corresponds to the parachain ID of the origin chain (if applicable). If you are sending the XCM from the relay chain, you don't need to provide this parameter - The
-parentsflag corresponds to the parents value of the origin chain in relation to the destination chain. If you're deriving a multi-location derivative account on a parachain destination from a relay chain origin, this value would be1. If left out, the parents value defaults to0
Here, we have specified a parents value of 1 because the relay chain is the origin of the request (and the relay chain is considered a parent to the Moonbase alpha parachain). The relay chain does not have a parachain id so that field is omitted.
yarn run v1.22.10 warning ../../../package.json: No license field $ ts-node 'scripts/calculate-multilocation-derivative-account.ts' --ws-provider wss://wss.api.moonbase.moonbeam.network --address 5DCvkTpkqo5AuvUFSrT76ABnm48iSBHpgsoDFNxFZAtesvWD --parents 1
Remote Origin calculated as ParentChain Parents 1 AccountId32: 5DCvkTpkqo5AuvUFSrT76ABnm48iSBHpgsoDFNxFZAtesvWD 32 byte address is 0x55738eb7227f27c9d55775f65ad261c5ac2894dcde73d913f77f69bf51e26279 20 byte address is 0x55738eb7227f27c9d55775f65ad261c5ac2894dc ✨ Done in 1.02s.
The script will return 32-byte and 20-byte addresses. We’re interested in the Ethereum-style account - the 20-byte one. Feel free to look up your Computed Origin account on Moonscan. You’ll note that this account is empty. You’ll now need to fund this account with at least 1.1 DEV which you can get from the faucet. And if you need more, you can always reach out to us on Discord for additional DEV tokens.
Preparing to Stake on Moonbase Alpha
First and foremost, you’ll need the address of the collator you want to delegate to. To locate it, head to the Moonbase Alpha Staking dApp in a second window. Ensure you’re on the correct network, then press Select a Collator. Press the icon next to your desired collator to copy its address. You’ll also need to make a note of the number of delegations your collator has. The Moonbeam Foundation 01 collator shown below has 7 delegations at the time of writing.
Remote Staking via XCM with the Polkadot.js API
This tutorial will cover the two-step process to perform remote staking operations. The first step we'll take is to generate the encoded call data for delegating a collator. Secondly, we'll send the encoded call data via XCM from the relay chain to Moonbase Alpha, which will result in the execution of the delegation.
Generate the Encoded Call Data
We'll be using the delegateWithAutoCompound function of the Parachain Staking Pallet, which accepts six parameters: candidate, amount, autoCompound, candidateDelegationCount, candidateAutoCompoundingDelegationCount, and delegationCount.
In order to generate the encoded call data, we'll need to assemble the arguments for each of the delegateWithAutoCompound parameters and use them to build a transaction which will call the delegateWithAutoCompound function. We are not submitting a transaction, but simply preparing one to get the encoded call data. We'll take the following steps to build our script:
- Create a Polkadot.js API provider
-
Assemble the arguments for each of the parameters of the
delegateWithAutoCompoundfunction:candidate- for this example we'll use the Moonbeam Foundation 01 collator:0x12E7BCCA9b1B15f33585b5fc898B967149BDb9a5. To retrieve the entire list of candidates, you can refer back to the Preparing to Stake sectionamount- we'll stake the minimum amount, which is 1 DEV or1000000000000000000Wei. You can find a unit converter on MoonscanautoCompound- we'll set this to100to auto-compound all rewardscandidateDelegationCount- we'll retrieve using thecandidateInfofunction of the Parachain Staking Pallet to get the exact count. Alternatively, you can enter the upper bound of300because this estimation is only used to determine the weight of the callcandidateAutoCompoundingDelegationCount- we'll retrieve using theautoCompoundingDelegationsfunction of the Parachain Staking Pallet to get the exact count. Alternatively, you can enter the upper bound of300because this estimation is only used to determine the weight of the calldelegationCount- we'll retrieve using thedelegatorStatefunction of the Parachain Staking Pallet to get the exact count. Alternatively, you can specify an upper bound here of100
-
Craft the
parachainStaking.delegateWithAutoCompoundextrinsic with each of the required arguments - Use the transaction to get the encoded call data for the delegation
import { ApiPromise, WsProvider } from '@polkadot/api';
const provider = new WsProvider('wss://wss.api.moonbase.moonbeam.network');

const candidate = '0x12E7BCCA9b1B15f33585b5fc898B967149BDb9a5';
const amount = '1000000000000000000';
const autoCompound = 100;

const main = async () => {
  const api = await ApiPromise.create({ provider: provider });

  // Fetch your existing number of delegations
  let delegatorDelegationCount;
  const delegatorInfo = await api.query.parachainStaking.delegatorState(
    'INSERT_ACCOUNT' // Use the account you're delegating with
  );

  if (delegatorInfo.toHuman()) {
    delegatorDelegationCount = delegatorInfo.toHuman()['delegations'].length;
  } else {
    delegatorDelegationCount = 0;
  }

  // Fetch the collators existing delegations
  const collatorInfo = await api.query.parachainStaking.candidateInfo(
    candidate
  );
  const candidateDelegationCount = collatorInfo.toHuman()['delegationCount'];

  // Fetch the collators number of existing auto-compounding delegations
  const autoCompoundingDelegationsInfo =
    await api.query.parachainStaking.autoCompoundingDelegations(candidate);
  const candidateAutoCompoundingDelegationCount =
    autoCompoundingDelegationsInfo.length;

  // Craft extrinsic
  const tx = api.tx.parachainStaking.delegateWithAutoCompound(
    candidate,
    amount,
    autoCompound,
    candidateDelegationCount,
    candidateAutoCompoundingDelegationCount,
    delegatorDelegationCount
  );

  // Get SCALE encoded call data
  const encodedCall = tx.method.toHex();
  console.log(`Encoded Call Data: ${encodedCall}`);

  api.disconnect();
};
main();
Note
If running this as a TypeScript project, be sure to set the strict flag under compilerOptions to false in your tsconfig.json.
If you'd prefer not to set up a local environment, you can run a code snippet in the JavaScript console of Polkadot.js Apps.
Code to run in the Polkadot.js Apps JavaScript console
const candidate = '0x12E7BCCA9b1B15f33585b5fc898B967149BDb9a5';
const amount = '1000000000000000000';
const autoCompound = 100;

// Fetch your existing number of delegations
let delegatorDelegationCount;
// Use the account you're delegating with
const delegatorInfo = await api.query.parachainStaking.delegatorState(
  'INSERT_ACCOUNT'
);

if (delegatorInfo.toHuman()) {
  delegatorDelegationCount = delegatorInfo.toHuman()['delegations'].length;
} else {
  delegatorDelegationCount = 0;
}

// Fetch the collators existing delegations
const collatorInfo = await api.query.parachainStaking.candidateInfo(candidate);
const candidateDelegationCount = collatorInfo.toHuman()['delegationCount'];

// Fetch the collators number of existing auto-compounding delegations
const autoCompoundingDelegationsInfo =
  await api.query.parachainStaking.autoCompoundingDelegations(candidate);
const candidateAutoCompoundingDelegationCount =
  autoCompoundingDelegationsInfo.length;

// Craft extrinsic
const tx = api.tx.parachainStaking.delegateWithAutoCompound(
  candidate,
  amount,
  autoCompound,
  candidateDelegationCount,
  candidateAutoCompoundingDelegationCount,
  delegatorDelegationCount
);

// Get SCALE Encoded Call Data
const encodedCall = tx.method.toHex();
console.log(`Encoded Call Data: ${encodedCall}`);
Assemble and Send XCM Instructions via the Polkadot.js API
In this section, we'll be using the Polkadot.js API to construct and send XCM instructions via the send extrinsic of the XCM Pallet on the Alphanet relay chain. The XCM message will transport our remote execution instructions to the Moonbase Alpha parachain to ultimately stake our desired amount of DEV tokens to a chosen collator.
The send function of the XCM Pallet accepts two parameters: dest and message. You can start assembling these parameters by taking the following steps:
-
Build the multilocation of the DEV token on Moonbase Alpha for the
dest:const dest = { V4: { parents: 0, interior: { X1: [{ Parachain: 1000 }] } } }; -
Build the
WithdrawAssetinstruction, which will require you to define:- The multilocation of the DEV token on Moonbase Alpha
- The amount of DEV tokens to withdraw
const instr1 = { WithdrawAsset: [ { id: { parents: 0, interior: { X1: [{ PalletInstance: 3 }] }, }, fun: { Fungible: 100000000000000000n }, }, ], }; -
Build the
BuyExecutioninstruction, which will require you to define:- The multilocation of the DEV token on Moonbase Alpha
- The amount of DEV tokens to buy for execution
- The weight limit
const instr2 = { BuyExecution: [ { id: { parents: 0, interior: { X1: [{ PalletInstance: 3 }] }, }, fun: { Fungible: 100000000000000000n }, }, { Unlimited: null }, ], }; -
Build the
Transactinstruction, which will require you to define:- The origin type, which will be
SovereignAccount - The required weight for the transaction. You'll need to define a value for
refTime, which is the amount of computational time that can be used for execution, and theproofSize, which is the amount of storage in bytes that can be used. It is recommended that the weight given to this instruction needs to be around 10% more of25000times the gas limit for the call you want to execute via XCM - The encoded call data for delegating a collator, which we generated in the previous section
const instr3 = { Transact: { originKind: 'SovereignAccount', requireWeightAtMost: { refTime: 40000000000n, proofSize: 900000n }, call: { encoded: '0x0c1212e7bcca9b1b15f33585b5fc898b967149bdb9a5000064a7b3b6e00d000000000000000064070000000700000000000000', }, }, }; - The origin type, which will be
-
Combine the XCM instructions into a versioned XCM message:
const message = { V4: [instr1, instr2, instr3] };
Now that you have the values for each of the parameters, you can write the script to send the XCM message. You'll take the following steps:
- Provide the values for each of the parameters of the
sendfunction - Create the Polkadot.js API provider using the WSS endpoint of the Alphanet relay chain
- Create a Keyring instance using the mnemonic of your relay chain account, which will be used to send the transaction
- Craft the
xcmPallet.sendextrinsic with thedestandmessage - Send the transaction using the
signAndSendextrinsic and the Keyring instance you created in the third step
Remember
This is for demo purposes only. Never store your private key in a JavaScript file.
import { ApiPromise, WsProvider, Keyring } from '@polkadot/api';
import { cryptoWaitReady } from '@polkadot/util-crypto';

const privateKey = 'INSERT_PRIVATE_KEY_OR_MNEMONIC';

// 1. Define the dest and message arguments
const dest = { V4: { parents: 0, interior: { X1: [{ Parachain: 1000 }] } } };
const instr1 = {
  WithdrawAsset: [
    {
      id: {
        parents: 0,
        interior: { X1: [{ PalletInstance: 3 }] },
      },
      fun: { Fungible: 100000000000000000n },
    },
  ],
};
const instr2 = {
  BuyExecution: [
    {
      id: {
        parents: 0,
        interior: { X1: [{ PalletInstance: 3 }] },
      },
      fun: { Fungible: 100000000000000000n },
    },
    { Unlimited: null },
  ],
};
const instr3 = {
  Transact: {
    originKind: 'SovereignAccount',
    requireWeightAtMost: { refTime: 40000000000n, proofSize: 900000n },
    call: {
      encoded:
        '0x0c1212e7bcca9b1b15f33585b5fc898b967149bdb9a5000064a7b3b6e00d000000000000000064070000000700000000000000',
    },
  },
};
const message = { V4: [instr1, instr2, instr3] };

const performRemoteDelegation = async () => {
  // 2. Construct API provider
  const wsProvider = new WsProvider(
    'wss://relay.api.moonbase.moonbeam.network'
  );
  const api = await ApiPromise.create({ provider: wsProvider });

  // 3. Initialize wallet key pairs
  await cryptoWaitReady();
  const keyring = new Keyring({ type: 'sr25519' });
  // For demo purposes only. Never store your private key or mnemonic in a JavaScript file
  const otherPair = keyring.addFromUri(privateKey);
  console.log(`Derived Address from Private Key: ${otherPair.address}`);

  // 4. Define the transaction using the send method of the xcm pallet
  const tx = api.tx.xcmPallet.send(dest, message);

  // 5. Sign and send the transaction
  const txHash = await tx.signAndSend(otherPair);
  console.log(`Submitted with hash ${txHash}`);

  api.disconnect();
};

performRemoteDelegation();
Note
Remember that your Computed Origin account must be funded with at least 1.1 DEV or more to ensure you have enough to cover the stake amount and transaction fees.
In the above snippet, besides submitting the remote staking via XCM transaction, we also print out the transaction hash to assist with any debugging.
And that’s it! To verify that your delegation was successful, you can visit Subscan to check your staking balance. Be advised that it may take a few minutes before your staking balance is visible on Subscan. Additionally, be aware that you will not be able to see this staking operation on Moonscan, because we initiated the delegation action directly via the Parachain Staking Pallet (on the Substrate side) rather than through the Staking Precompile (on the EVM).
| Created: December 10, 2022