Indexing Moonbeam with SubQuery
Introduction
SubQuery is a data aggregation layer that operates between the layer-1 blockchains (such as Moonbeam and Polkadot) and DApps. This service unlocks blockchain data and transforms it into a queryable state so that it can be used in intuitive applications. It allows DApp developers to focus on their core use case and front end without needing to waste time on building a custom back end for data processing.
SubQuery supports indexing the Ethereum Virtual Machine (EVM) and Substrate data for any of the Moonbeam networks. A key advantage of using SubQuery is that you can flexibly collect query data across both Moonbeam's EVM and Substrate code with a single project and tool, and then query this data using GraphQL.
For example, SubQuery can filter and query EVM logs and transactions in addition to Substrate data sources. SubQuery introduces more advanced filters than other indexers, allowing filtering of non-contract transactions, transaction senders, contracts, and indexed log arguments, so developers can build a wide variety of projects that cater to their specific data needs.
This quick-start guide will show you how to create a SubQuery project and configure it to index Substrate and EVM data on Moonbeam.
Checking Prerequisites
Later on in this guide, you have the option of deploying your project to a locally running SubQuery node. To do so, you need to have the following installed on your system:
Note
If Docker Compose was installed for Linux via the sudo apt install docker-compose command, you might run into some errors later on in the guide. Please be sure to follow the instructions for Linux from the official Install Docker Compose guide.
Create a Project
To get started, you'll need to create a SubQuery project:
-
Globally install the SubQuery CLI:
npm install -g @subql/cliyarn global add @subql/cli
Note
Using yarn to install @subql/cli is discouraged due to its poor dependency management, which can result in various errors.
-
Initialize your SubQuery project using the following command:
subql init PROJECT_NAME -
You'll be prompted to answer a series of questions:
-
For the Select a network family question, although Moonbeam is EVM compatible, the Moonbeam templates are under the Polkadot family, so you can choose Polkadot
subql init moonbeam-demo ? Select a network family EVM Networks Algorand Cosmos Concordium NEAR > Polkadot Stellar -
The next screen will prompt you to Select a network. You can choose between Moonbeam and Moonriver
Note
To build a project on Moonbase Alpha, you can select either network and adapt it later on
subql init moonbeam-demo ? Select a network family Polkadot ? Select a network Humanode HydraDX Integritee Shell Interlay Karura Khala KILT Spiritnet Kusama Kylin > Moonbeam Moonriver Nodle OriginTrail Parallel Parallel Heiko Polkadex Polkadot Quartz Shiden Kusama Asset Hub (Statemine) (Move up and down to reveal more choices) -
You'll be prompted to Select a template project. Depending on the network you chose in the prior step, the template options may vary
Template Description moonbeam-evm-starterA starter EVM project that indexes ERC-20 Transferevents andapprovecallsmoonbeam-substrate-evm-starterA starter Substrate and EVM project that indexes ERC-20 Transferevents and calls to the Staking Pallet'sjoinCandidatesandexecuteLeaveCandidatesextrinsicsMoonbeam-starterA starter Substrate project that indexes balance transfers through the Balances Pallet Template Description moonriver-evm-starterA starter EVM project that indexes ERC-20 Transferevents andapprovecallsMoonriver-starterA starter Substrate project that indexes balance transfers through the Balances Pallet subql init moonbeam-demo ? Select a network family Polkadot ? Select a network Moonbeam ? Select a template project > moonbeam-evm-starter moonbeam-substrate-evm-starter Moonbeam-starter Other Enter a custom git endpoint -
You'll be prompted to add additional information, such as the RPC endpoint, the project's author, and the description of the project. For these, you can just hit enter and accept the default or customize them as you see fit
Note
To avoid hitting the rate limits of public RPC endpoints, it is recommended to have your own endpoint and API key, which you can get from one of the supported Endpoint Providers
subql init moonbeam-demo ? Select a network family Polkadot ? Select a network Moonbeam ? Select a template project Moonbeam-starter RPC endpoint: [wss://moonbeam.api.onfinality.io/public-ws]: Author [SubQuery Team]: Description [This project can be used as a starting p...]: Preparing project... done moonbeam-demo is ready
-
-
After you've gone through all of the prompts, the starter project will be cloned. You'll just need to install dependencies from within the project directory:
cd PROJECT_NAME && npm installcd PROJECT_NAME && yarn install
Configure the Network
The template projects already come pre-configured for the network selected while initializing your project. However, if you're working off of an existing project or want to configure your project for Moonbase Alpha instead of Moonbeam or Moonriver, you can update the network configurations in the project.ts file.
The network configuration is as follows for each network:
network: {
  chainId:
    '0xfe58ea77779b7abda7da4ec526d14db9b1e9cd40a217c34892af80a9b332b76d',
  endpoint: ['INSERT_RPC_API_ENDPOINT'],
  chaintypes: {
    file: ./dist/chaintypes.js,
  },
},
network: {
  chainId: '0x401a1f9dca3da46f5c4091016c8a2f26dcea05865116b286f60f668207d1474b',
  endpoint: ['INSERT_RPC_API_ENDPOINT'],
  chaintypes: {
    file: ./dist/chaintypes.js,
  },
},
network: {
  chainId: '0x91bc6e169807aaa54802737e1c504b2577d4fafedd5a02c10293b1cd60e39527',
  endpoint: ['https://rpc.api.moonbase.moonbeam.network'],
  chaintypes: {
    file: ./dist/chaintypes.js,
  },
},
To test out the examples in this guide on Moonbeam or Moonriver, you will need to have your own endpoint and API key, which you can get from one of the supported Endpoint Providers.
Modify the GraphQL Schema
In the schema.graphql file, you can use GraphQL entities to define the shape of your data. Once you've edited the GraphQL schema for your needs, you'll need to generate the required GraphQL models. To do so, you can run the following command:
npm run codegen
yarn codegen
The generated models will be created in the src/types/models directory. These models will be used in the mapping handlers that process the indexed data.
Note
If you make changes to the schema.graphql file, you'll need to regenerate your types.
Index Substrate Data
The project.ts file is the entry point into your indexer; it defines what type of data to index and the mapping functions that are responsible for handling and processing the indexed data.
To index Substrate data, you'll need to ensure that the type of the project is SubstrateProject.
const project: SubstrateProject = { ... }
The Substrate Data Source
In the project.dataSources array, you'll define the Substrate data source and the data to be indexed. The format of the data source is as follows:
datasources: [
  {
    kind: 'substrate/Runtime',
    startBlock: INSERT_START_BLOCK,
    endBlock: INSERT_END_BLOCK,
    mapping: {
      file: './dist/index.js',
      handlers: [
        {
          kind: 'INSERT_HANDLER_KIND',
          handler: 'INSERT_HANDLER_FUNCTION_NAME',
          filter: {
            'INSERT_FILTER_TYPE': 'INSERT_FILTER',
          },
        },
      ],
    },
  },
],
Each property can be defined as follows:
kind- the kind of data source that you'll use, which for Substrate data is thesubstrate/RuntimesourcestartBlock- (optional) the block from which the indexer will start processing blocksendBlock- (optional) after this block, the indexer will stop processing blocksmapping- the data to be indexed and the handlers for the datafile- the entry path for the mappinghandlers- the handlers for specific kinds of datakind- the kind of handler. For Substrate data, there are three kinds:substrateBlockHandler,substrate/EventHandler, andsubstrate/CallHandlerhandler- the name of the handler function that will process this datafilter- (optional) the filter type and data that will trigger a mapping handler. For example, what block, event, or extrinsic to index
Substrate Mapping Handlers
Using only certain handlers and filters will improve your indexer's efficiency. The handlers available for Substrate data are as follows:
-
The block handler is used to index block data and is called once for every block. As such, this type of handler will slow your project down significantly and should only be used if absolutely necessary. The supported filters for the block handler are:
specVersion,modulo, andtimestampFilter Description Example specVersionFilters the blocks that fall into a spec version range specVersion: [null, 2000]
# Indexes blocks with a spec
version between 0 - 2000moduloFilters the blocks at an interval modulo: 50 # Indexes every 50 blockstimestampFilters the blocks at a time interval (in UTC).
Accepts a valid cron expressiontimestamp: '*5/ * * * *'
# Indexes blocks every 5 minutes -
The event handler is used to index certain Substrate events that are part of the runtime. The supported filters for the event handler are:
moduleandmethodFilter Description Example moduleFilters the pallet (module) that the event belongs to module: 'balances'methodFilters the event method: 'Transfer' -
The call handler is used to index certain Substrate extrinsics. The supported filters for the call handler are:
module,method,success, andisSignedFilter Description Example moduleFilters the pallet (module) that extrinsic belongs to module: 'balances'methodFilters the extrinsic method: 'Transfer'successFilters extrinsics based on outcome success: trueisSignedFilters extrinsics based on whether they're signed isSigned: true
Index Ethereum Data
The project.ts file is the entry point into your indexer; it defines what type of data to index and the mapping functions that are responsible for handling and processing the indexed data.
To index Substrate data, you'll need to ensure that the type of the project is SubstrateProject<FrontierEvmDatasource>.
const project: SubstrateProject<FrontierEvmDatasource> = { ... }
The EVM Data Source
In the project.dataSources array, you'll define the EVM data source and the data to be indexed. The EVM data source is powered by a data processor specifically made to work with Moonbeam’s implementation of Frontier. It allows you to reference specific ABI resources used by the processor to parse arguments and the smart contract address that the events are from or the call is made to. In general, it acts as middleware that can provide extra filtering and data transformation.
The format of the data source is as follows:
datasources: [
  {
    kind: 'substrate/FrontierEvm',
    startBlock: INSERT_START_BLOCK,
    endBlock: INSERT_END_BLOCK,
    processor: {
      file: './node_modules/@subql/frontier-evm-processor/dist/bundle.js',
      options: {
        abi: '',
        address: '',
      },
    },
    assets: ''
    mapping: {
      file: './dist/index.js',
      handlers: [
        {
          kind: 'INSERT_HANDLER_KIND',
          handler: 'INSERT_HANDLER_FUNCTION_NAME',
          filter: {
            'INSERT_FILTER_TYPE': 'INSERT_FILTER',
          },
        },
      ],
    },
  },
],
Each property can be defined as follows:
kind- the kind of data source that you'll use, which for EVM data is thesubstrate/FrontierEVMsourcestartBlock- (optional) the block from which the indexer will start processing blocksendBlock- (optional) after this block, the indexer will stop processing blocksprocessor- the Frontier EVM data processor configurationfile- the file where the data processor code livesoptions- (optional) the processor options specific to the Frontier EVM processorabi- (optional) the ABI that is used to parse arguments. Theabivalue must be a key in theassetsconfigurationaddress- (optional) the contract address where the event is emitted from or the call is made to. Usingnullwill capture contract creation calls
assets- (optional) an object of external asset ABI files
mapping- the data to be indexed and the handlers for the datafile- the entry path for the mappinghandlers- the handlers for specific kinds of datakind- the kind of handler. For EVM data, there are two kinds:substrate/FrontierEvmCallandsubstrate/FrontierEvmEventhandler- the name of the handler function that will process this datafilter- (optional) the filter type and data that will trigger a mapping handler. For example, what block, event, or extrinsic to index
Frontier EVM Mapping Handlers
Using only certain handlers and filters will improve your indexer's efficiency. The handlers available for EVM data are as follows:
-
The Frontier EVM call handler is used to index transactions that are formatted based on Ethers
TransactionResponsetype, but varies slightly. For information on the exact changes, please refer to SubQuery's documentation. The supported filters for the call handler are:functionandfromFilter Description Example functionFilters the call by function signature or selector function: '0x095ea7b3'
function: 'approve(address to,uint256 value)'fromFilters the call by the address that sent the transaction from: '0x6bd193ee6d2104f14f94e2ca6efefae561a4334b' -
The Frontier EVM event handler is used to index certain EVM events. The supported filter for the event handler is:
topicsFilter Description Example topicsFilters the event log by topics, which follows the Ethereum JSON-RPC log filters topics: 'Transfer(address indexed from,address indexed to,uint256 value)'
Run Your Indexer
To run your indexer locally using Docker, you can take the following steps:
-
Build your project:
npm run buildyarn buildnpm run build > moonbeam-demo@0.0.4 build > subql build Project manifest generated to /home/papermoon/moonbeam-demo/project.yaml Building and packing code ... Done!Note
If you make changes to the
project.tsfile, you'll need to rebuild your project. -
Start up the Docker container for your indexer:
npm run start:dockeryarn start:dockert found at block 171198 subquery-node_1 | 2025-04-07T04:29:52.601Z <sandbox-#3> INFO New transfer event found at block 171203 subquery-node_1 | 2025-04-07T04:29:52.663Z <sandbox-#3> INFO New transfer event found at block 171205 subquery-node_1 | 2025-04-07T04:29:52.701Z <benchmark> INFO INDEXING: 3148.19 blocks/s. Target height: 5,105,255. Current height: 171,205. Estimated time remaining: 0 days 00 hours 26 mins subquery-node_1 | 2025-04-07T04:29:52.710Z <sandbox-#3> INFO New transfer event found at block 171205 subquery-node_1 | 2025-04-07T04:29:52.717Z <sandbox-#3> INFO New transfer event found at block 171205 subquery-node_1 | 2025-04-07T04:29:52.739Z <sandbox-#3> INFO New transfer event found at block 171205 subquery-node_1 | 2025-04-07T04:29:52.750Z <sandbox-#3> INFO New transfer event found at block 171205 subquery-node_1 | 2025-04-07T04:29:52.765Z <sandbox-#3> INFO New transfer event found at block 171205 subquery-node_1 | 2025-04-07T04:29:52.780Z <sandbox-#3> INFO New transfer event found at block 171205 subquery-node_1 | 2025-04-07T04:29:52.807Z <sandbox-#3> INFO New transfer event found at block 171205 subquery-node_1 | 2025-04-07T04:29:52.826Z <sandbox-#3> INFO New transfer event found at block 171205 subquery-node_1 | 2025-04-07T04:29:52.864Z <sandbox-#3> INFO New transfer event -
Head to
http://localhost:3000to open the GraphQL playground and submit queries. You can open up the DOCS or SCHEMA tab on the playground as a reference when creating your queriesNote
It may take a few minutes before the GraphQL server is ready. You'll be able to access the playground after you see the following log:
substrate-demo-graphql-engine-1 | <subql-query> INFO Started playground at `http://localhost:3000`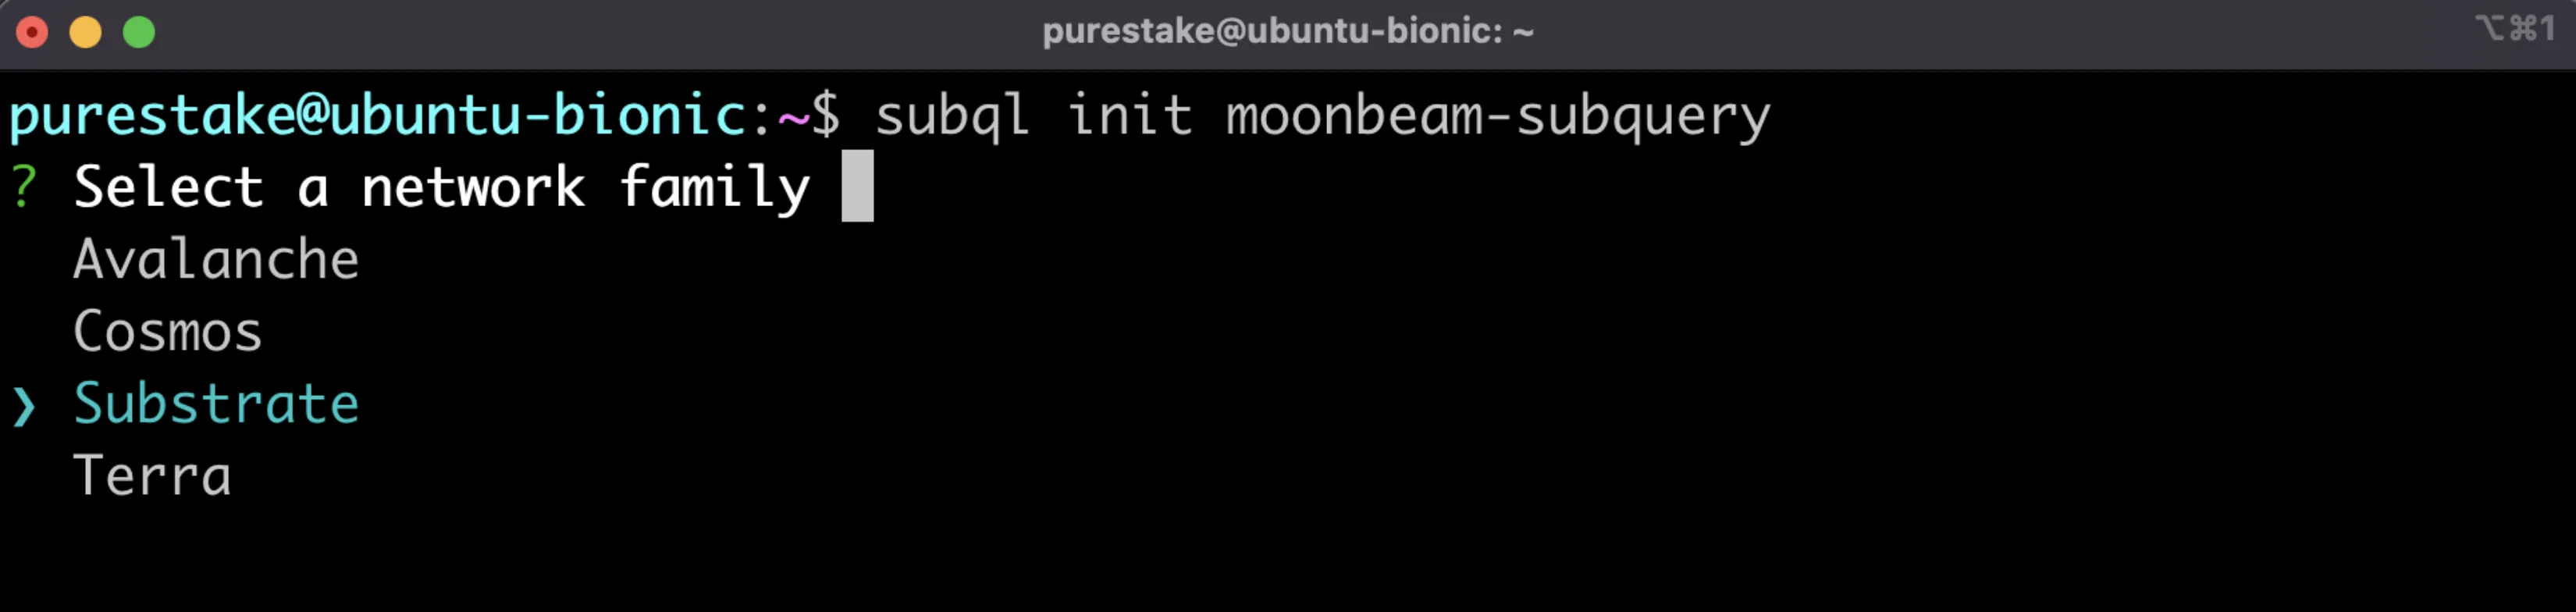
And that's it! For a step-by-step tutorial on how to use the moonbeam-substrate-evm-starter template project, you can refer to SubQuery's Moonbeam (EVM) Quick Start documentation.
| Created: February 10, 2022