Using Tenderly on Moonbeam
Introduction
Tenderly is a Web3 development platform that contains a suite of tools designed to help developers throughout the DApp development life cycle. With Tenderly, you can build, debug, test, optimize, monitor, set up alerts, and view analytics for your smart contracts on Moonbeam and Moonriver.
The Tenderly platform provides the following features:
-
Contract Verification - as it is essential to verify your smart contracts to take full advantage of all of Tenderly's features, Tenderly provides several methods of verification. You can verify smart contracts through the Tenderly dashboard, the Tenderly CLI and Foundry, or the Tenderly Hardhat plugin
-
Debugger - use the visual debugger to inspect transactions and get better insight into the behavior of your code. With the debugger, you can review a transaction's stack trace, view the calls made in a transaction, step through a contract, and review decoded inputs, outputs, and state variables. You can use the debugger on the Tenderly dashboard or the Tenderly Debugger Chrome Extension
-
Gas Profiler - view how much gas you're spending on a granular level, so you can optimize your smart contracts and reduce transaction gas costs
-
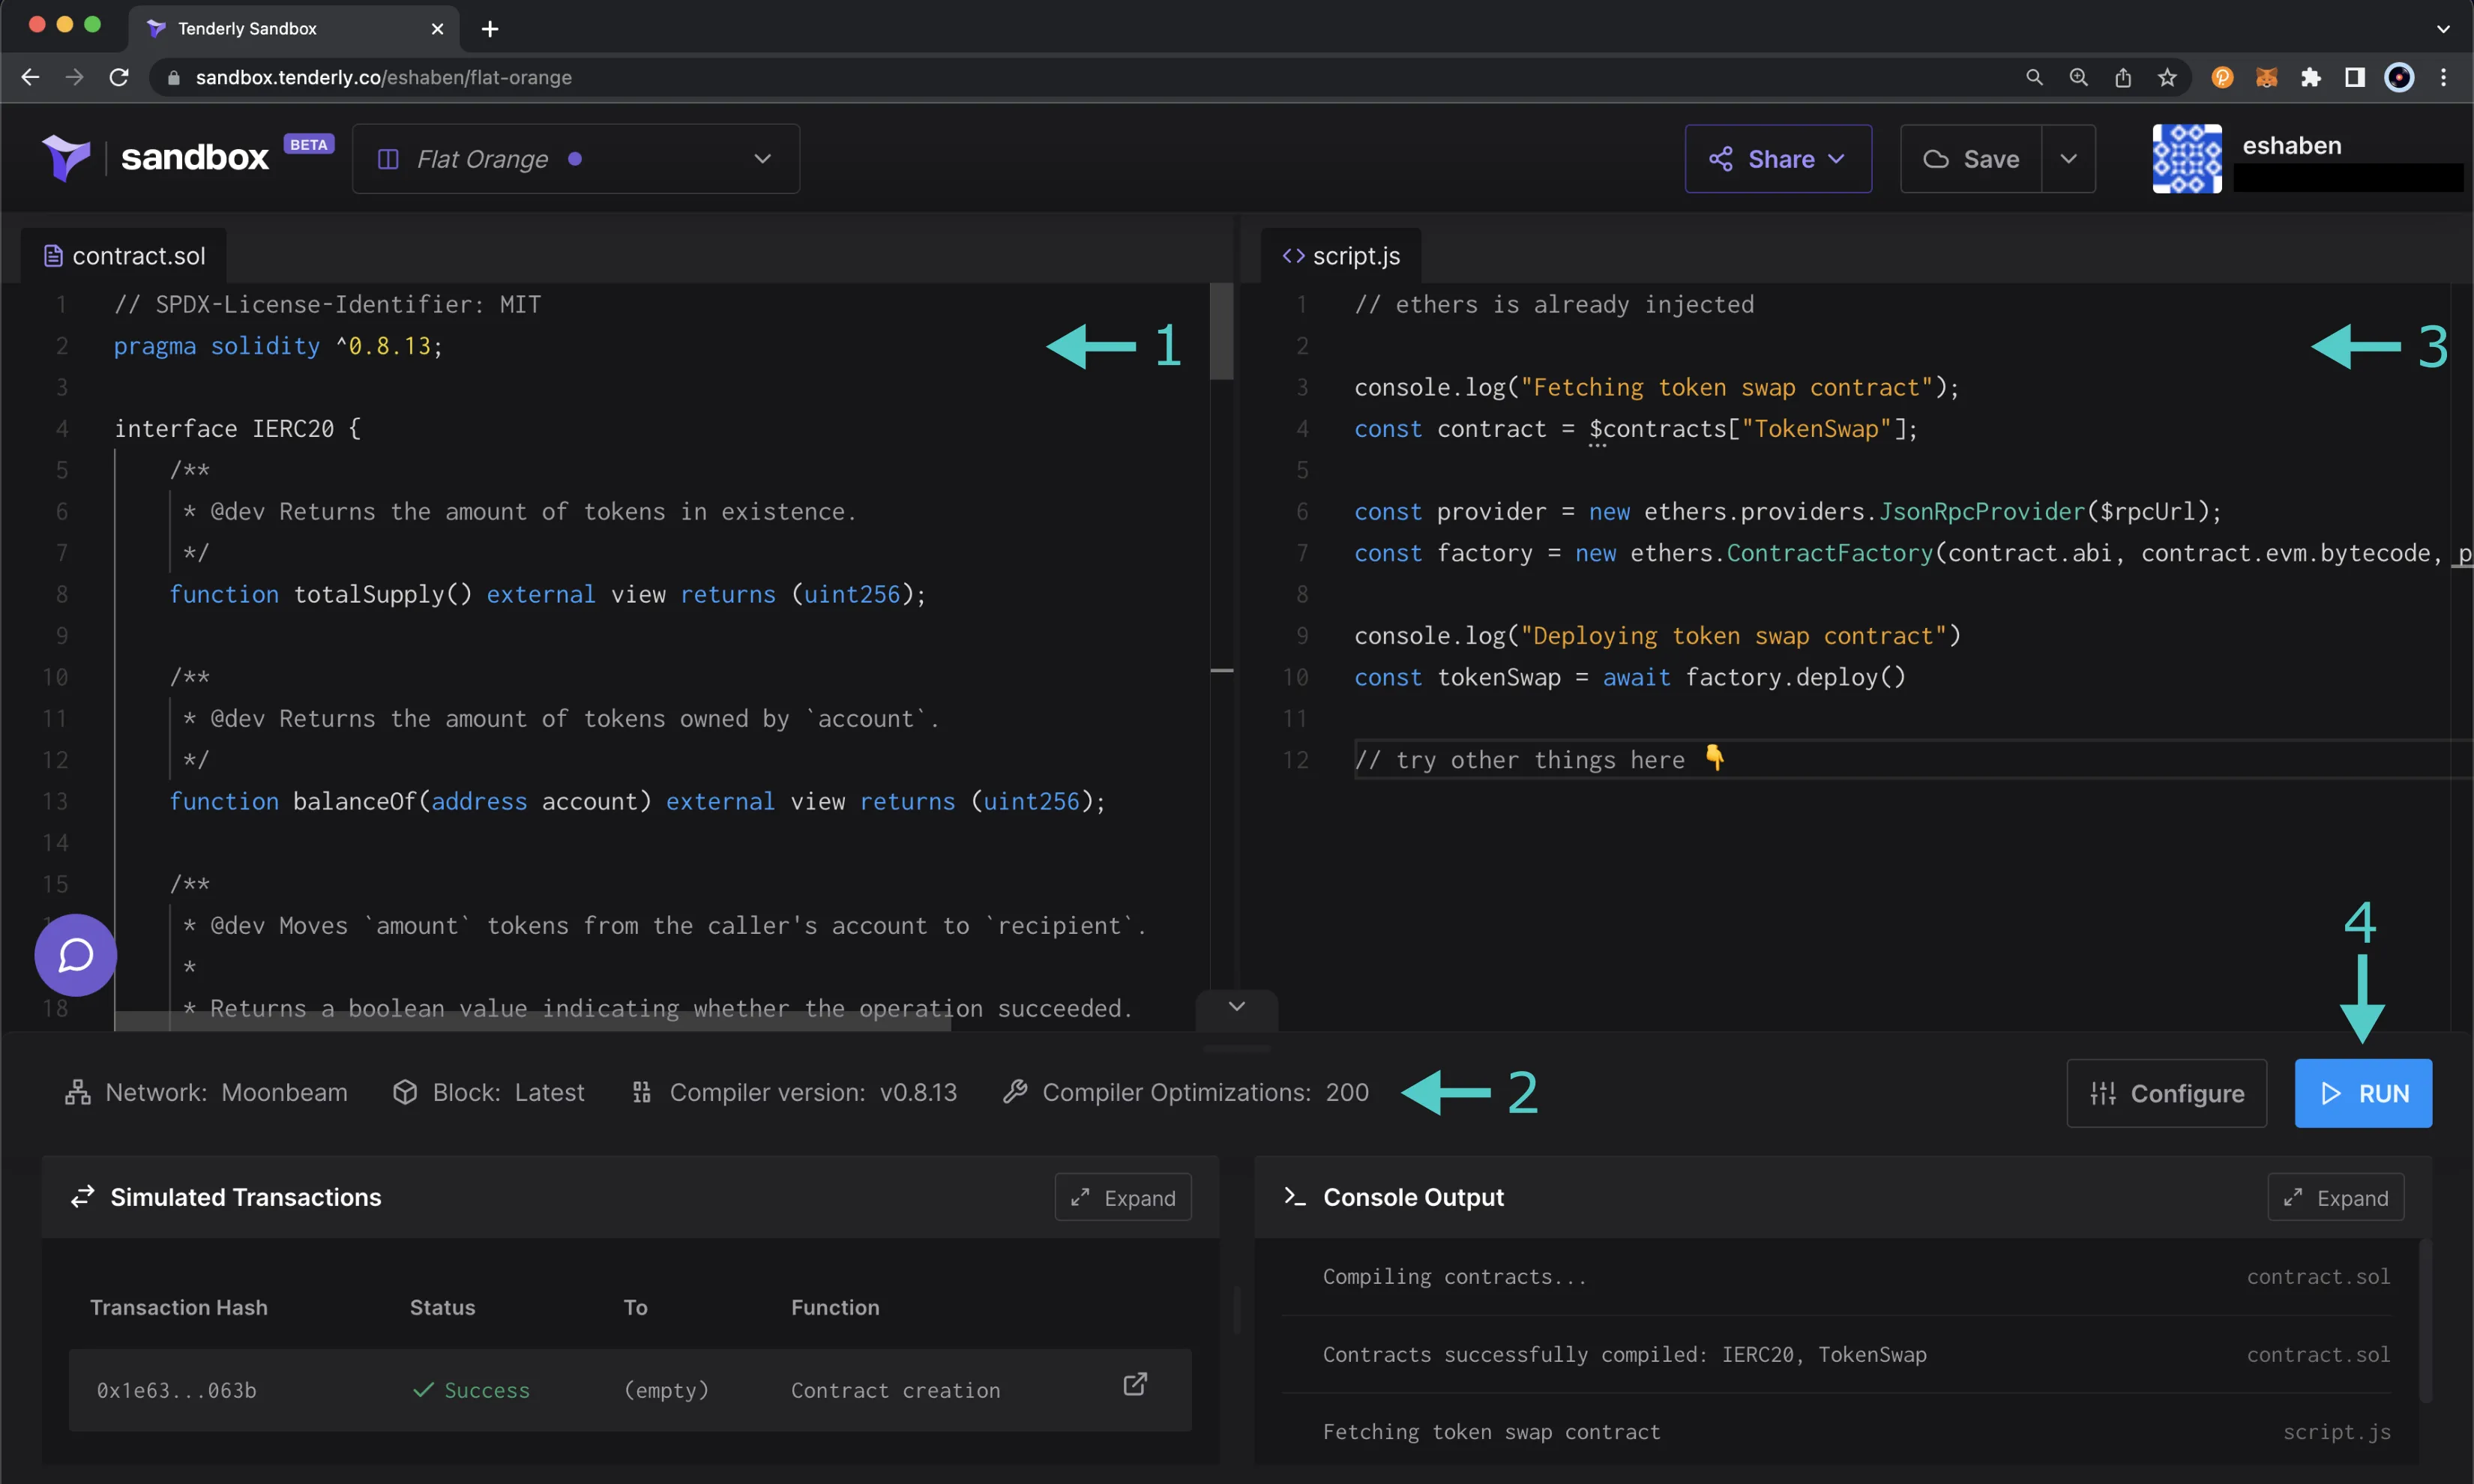
Simulator - simulate transactions in a TestNet development environment to learn how your transactions will behave without having to send them on-chain. This way, you can know the transaction's outcome and ensure it works as expected before sending it to the network. You can experiment with different parameters, simulate historical and current transactions, and edit the contract source code. You can access the simulator from the Tenderly dashboard, or you can use the Tenderly Simulation API to take advantage of the simulator programmatically
-
Virtual TestNets - simulate the live Moonbeam network in an isolated environment to interact with deployed contracts and real-time on-chain data. These test environments enable controlled development, testing, and debugging across smart contracts, UI, backend, and data indexing. They support sequential transaction simulations for complex scenarios. There are some limitations to be aware of when using this feature. Moonbeam precompiled contracts are not supported, as they are part of the Substrate implementation and cannot be replicated in the simulated EVM environment, prohibiting you from interacting with cross-chain assets, staking, and governance.
-
Alerting - configure real-time alerts to notify you whenever a specific event occurs, allowing you to stay informed about what's going on with your smart contracts
-
Web3 Actions - create programmable functions in JavaScript or TypeScript that are executed automatically by Tenderly when a specific smart contract or chain event occurs
Note
Tenderly supports Moonbeam, Moonriver, and Moonbase Alpha, except for the Web3 Gateway. For more information, check out Tenderly's documentation on Supported Networks.
Getting Started
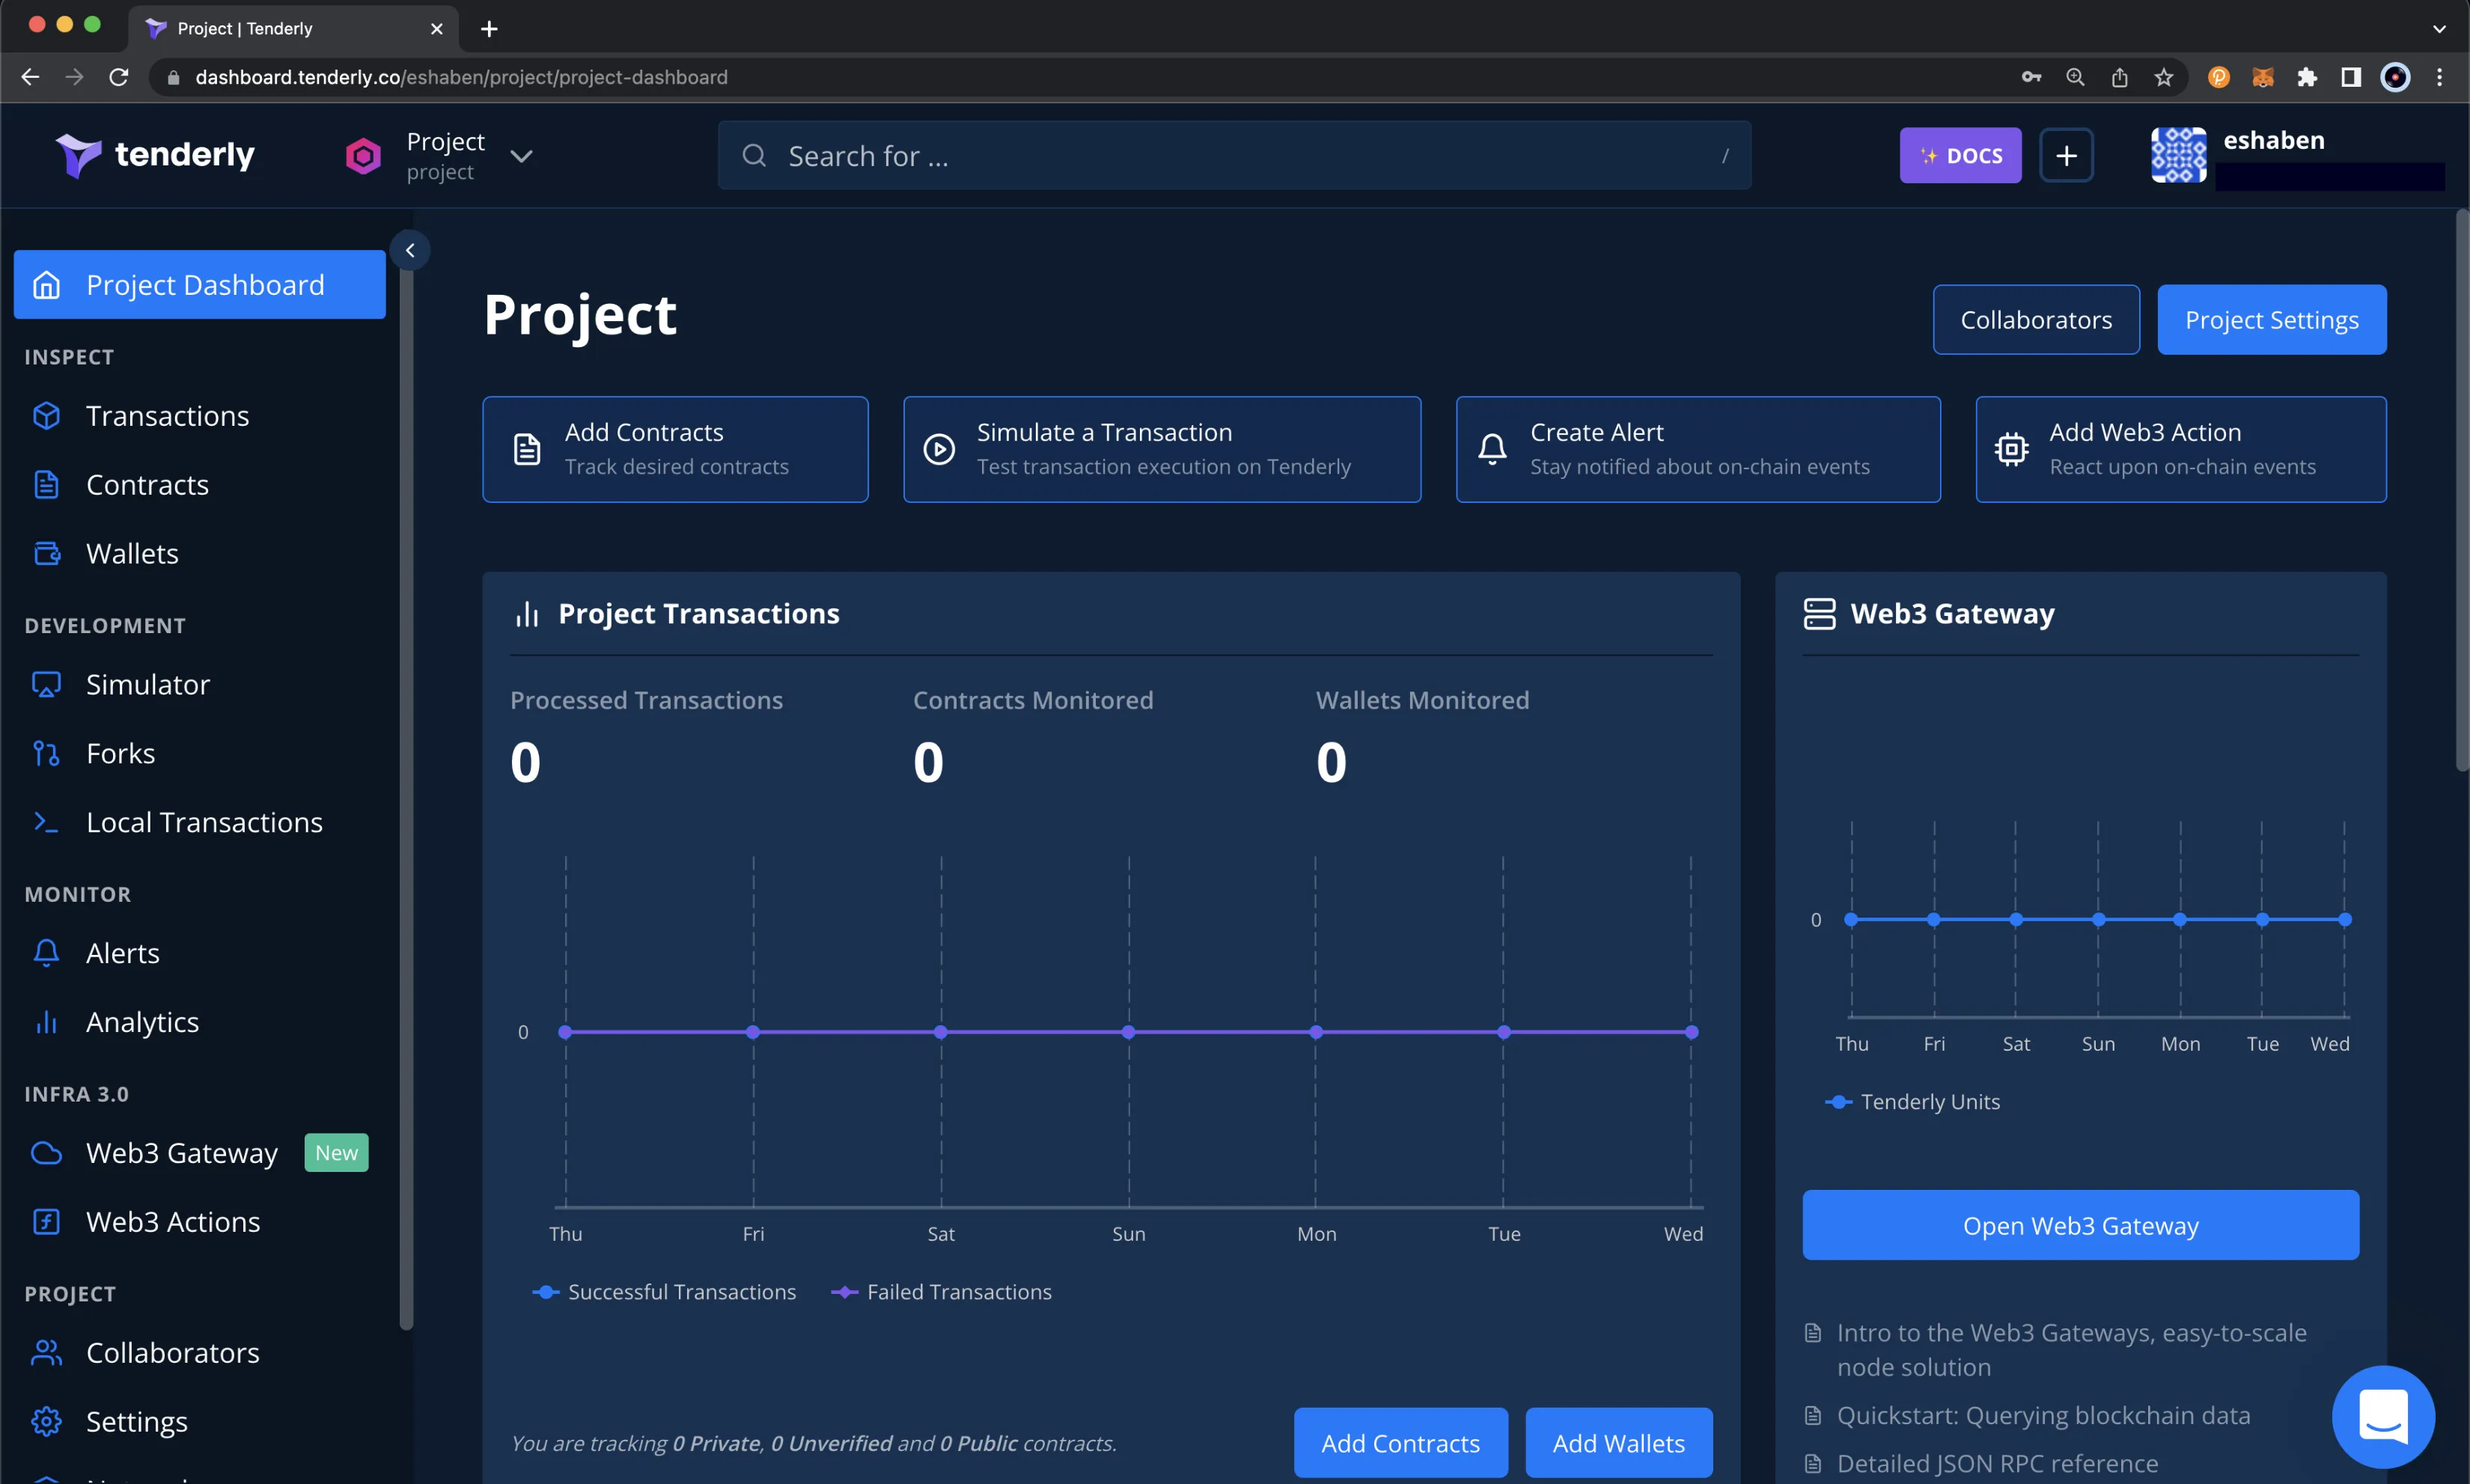
The Tenderly dashboard provides access to an all-in-one Web3 development platform. To get started with the dashboard, you'll need to sign up for an account. Once you've signed up, you'll be able to start exploring your Tenderly dashboard.
If you prefer not to set up an account, you can also access limited features using Tenderly's explorer. Without an account, you can still gain insights into contracts and transactions. However, you won't be able to simulate transactions or create Virtual TestNets.
To interact with Tenderly's features programmatically, you can check out the Tenderly CLI GitHub repository for more information.
The following sections will show you how to get started with Tenderly on Moonbeam. For more detailed documentation, please refer to Tenderly's documentation site.
Add a Contract
A good place to start with the Tenderly dashboard is to add a deployed smart contract. Once you've added a contract, you'll be able to create transaction simulations and Virtual TestNets, use the debugger, set up monitoring and alerts, and more.
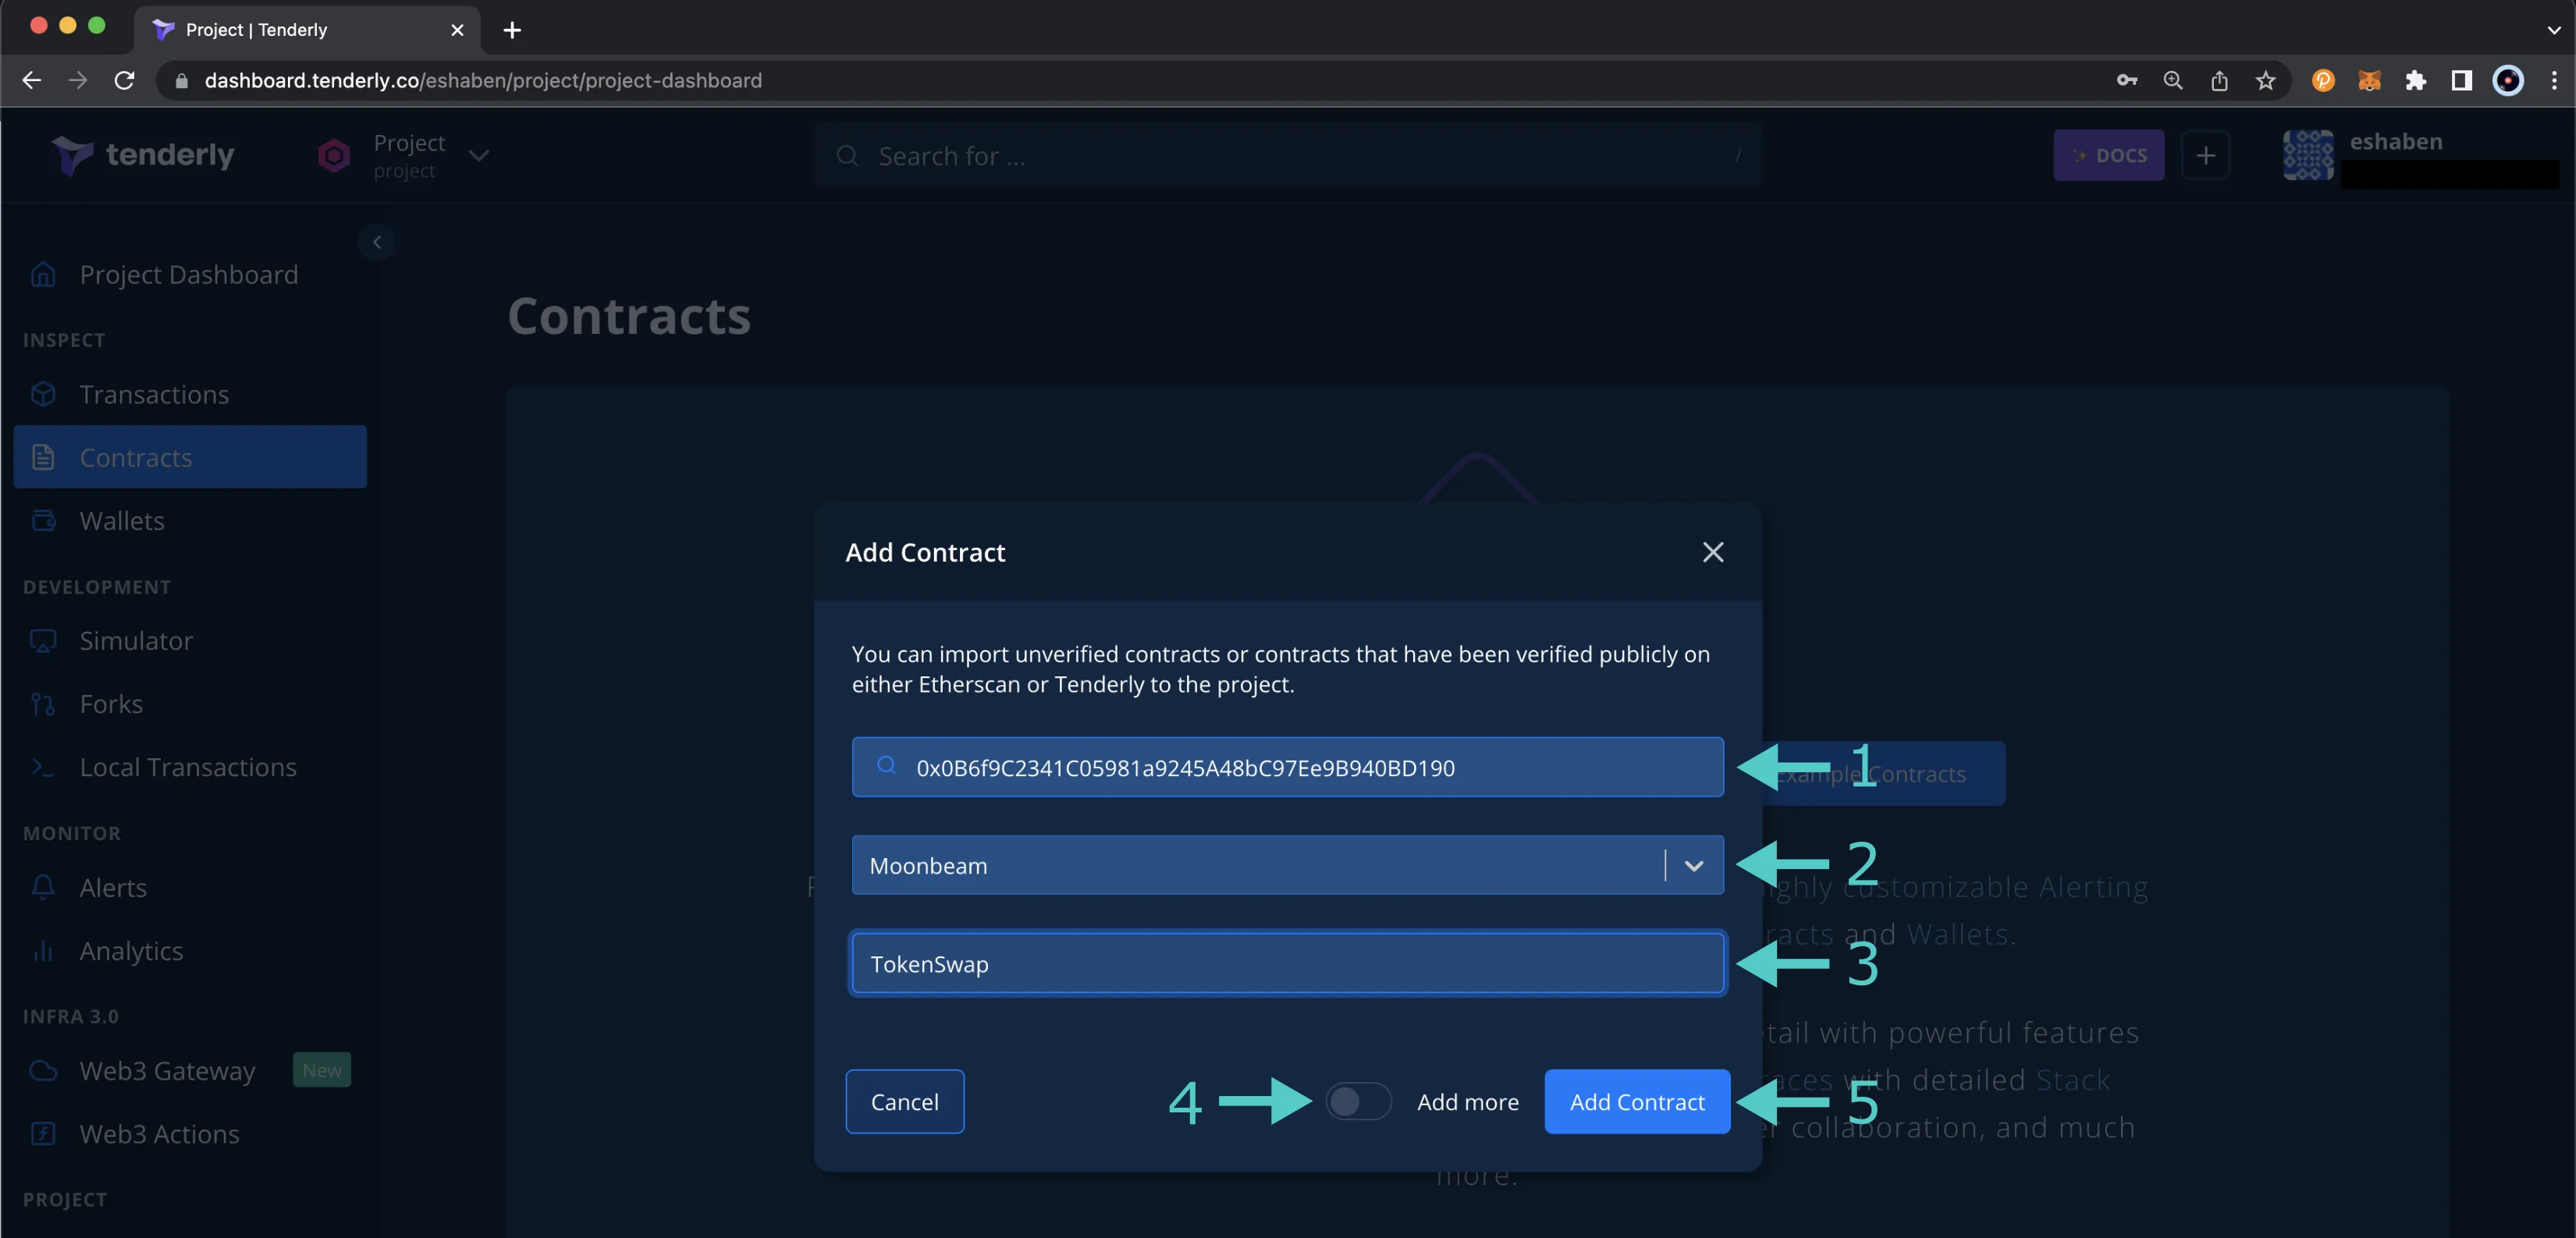
To add a new contract, you can click on Contracts on the left-side panel and click Add Contract. A pop-up will appear, and you can take the following steps:
- Enter the contract address
- (Optional) You can give your contract a name
- Choose Moonbeam, Moonriver, or Moonbase Alpha as the network, depending on which network you've deployed your smart contract to
- (Optional) Toggle the Add more slider to add additional contracts after the initial one
- Finally, to add the contract to the dashboard, click Save
After a contract has been added, it will appear in the list of contracts on the Contracts dashboard. If the contract hasn't been verified yet, the dashboard will display an Unverified status along with a Verify button.
To take full advantage of the Tenderly tool set, it is recommended that you verify your smart contracts, which you can do by clicking on Verify. You can choose to verify your contract by uploading the contract's JSON, ABI, or source code. For more information, please refer to Tenderly's documentation on Smart Contract Verification.
Create a Virtual TestNet
Tenderly's Virtual TestNets feature simulates the live Moonbeam network in an isolated environment, which enables you to interact with deployed contracts and live on-chain data.
There are some limitations to be aware of when using this feature. You cannot interact with any of the Moonbeam precompiled contracts and their functions. Precompiles are a part of the Substrate implementation and, therefore, cannot be replicated in the simulated EVM environment. This prohibits you from interacting with cross-chain assets on Moonbeam and Substrate-based functionality such as staking and governance.
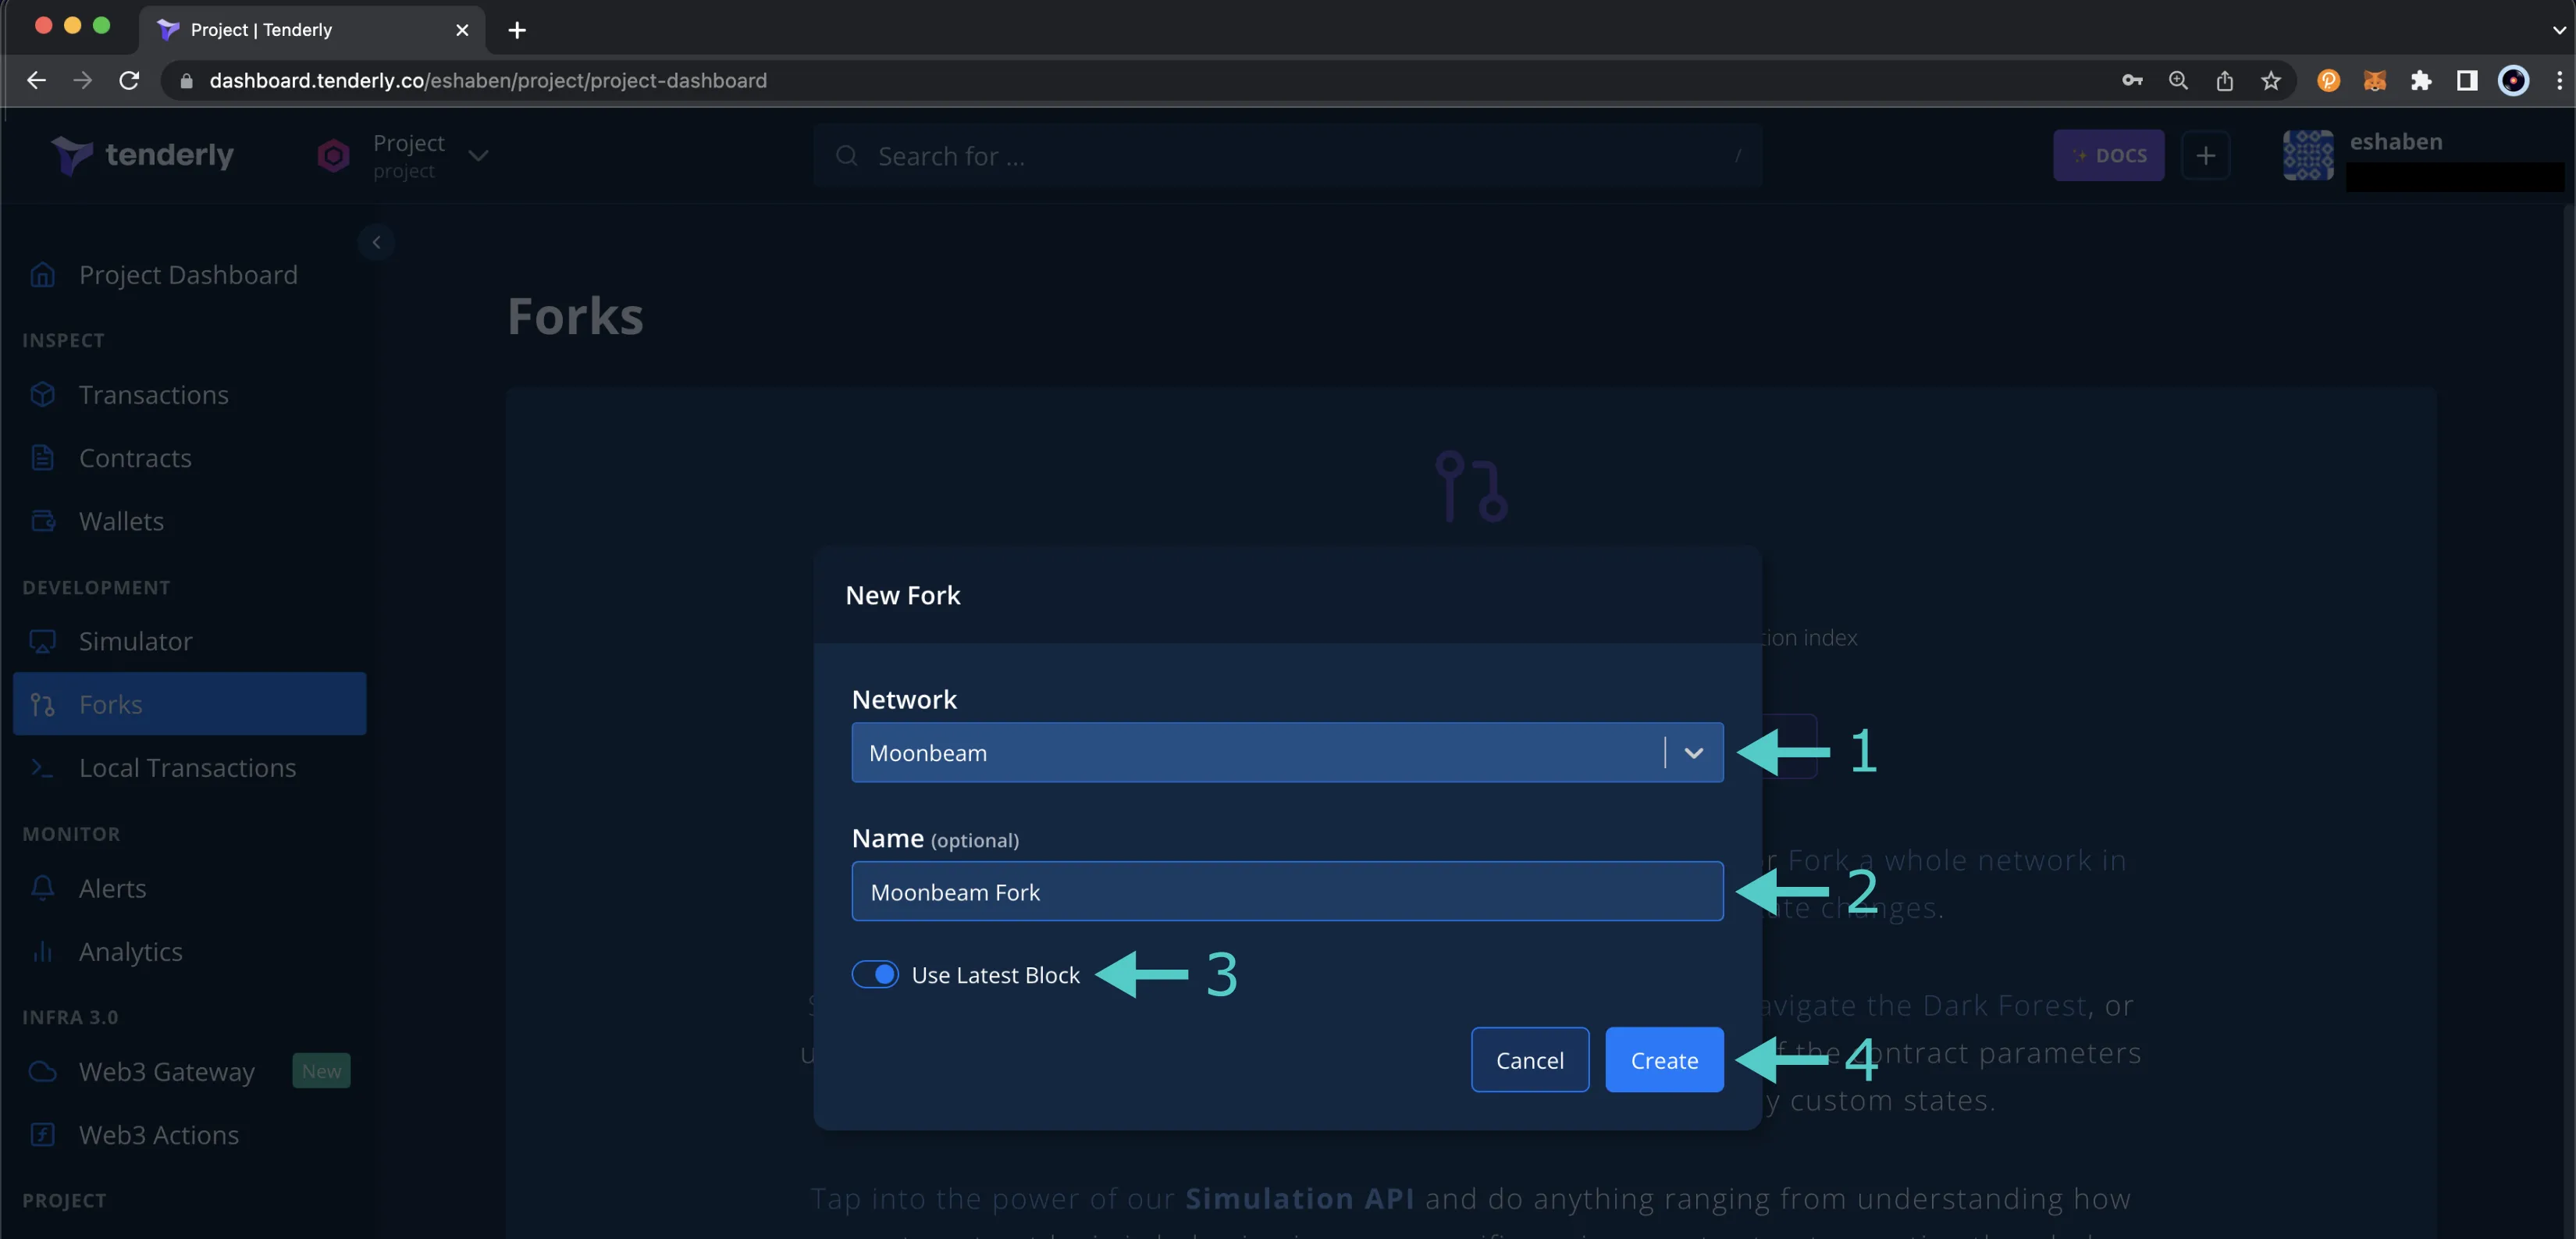
Tenderly makes creating a TestNet through the dashboard quite simple. To get started, click on Virtual TestNets on the left-side menu and then click Create Virtual TestNet. From there, you can take the following steps:
- Select Moonbeam, Moonriver, or Moonbase Alpha from the Parent network dropdown
- (Optional) Give your TestNet a name
- Select your Chain ID; you can use a custom one or the original network ID. It is recommended to set a custom Chain ID to prevent replay attacks and avoid issues when adding the Virtual TestNet to wallets
- Choose whether to turn on or off the Public Explorer
- Enable State Sync if you want to keep your Virtual TestNet updated in real-time with the parent network
- To limit data, disable Use latest block and enter a block number, or keep it enabled to include all blocks
- Click Create
Once you've created your Virtual TestNet, you can start using it by deploying a contract or creating a transaction simulation.
To deploy a contract, go to Contracts in the left menu. Use one from Watched Contracts or add a new one via Watch Contract. Once added, it will appear in Contracts, where you can view its details.
To create a simulation, click the Simulation button and enter the configurations for the simulation. For more information on simulations, please refer to Tenderly's Simulator UI Overview documentation.
Now that you've learned how to get started with a few of Tenderly's features on Moonbeam, please feel free to dive in and check out the other tools available in their development platform. You can visit Tenderly's documentation site for more information. You can also check out Moonbeam's tutorial on Using Tenderly to Simulate and Debug Transactions.
| Created: December 16, 2022


