Using thirdweb on Moonbeam
Introduction
thirdweb is a complete Web3 development framework that provides everything you need to develop smart contracts, build dApps, and more.
With thirdweb, you can access tools to help you through every phase of the dApp development cycle. You can create your own custom smart contracts or use any of thirdweb's prebuilt contracts to get started quickly. From there, you can use thirdweb's CLI to deploy your smart contracts. Then you can interact with your smart contracts by creating a Web3 application using the language of your choice, including but not limited to React and TypeScript.
This guide will show you some of the thirdweb features you can use to develop smart contracts and dApps on Moonbeam. To check out all of the features thirdweb has to offer, please refer to the thirdweb documentation site. For a comprehensive step-by-step tutorial for building a dApp on Moonbeam with thirdweb, be sure to check out Moonbeam's thirdweb tutorial in the tutorials section.
Create Contract
To create a new smart contract using the thirdweb CLI, follow these steps:
-
In your CLI, run the following command:
npx thirdweb create contract -
Input your preferences for the command line prompts:
- Give your project a name
- Choose your preferred framework: Hardhat or Foundry
- Name your smart contract
- Choose the type of base contract: Empty, ERC20, ERC721, or ERC1155
- Add any desired extensions
- Once created, navigate to your project’s directory and open in your preferred code editor
-
If you open the
contractsfolder, you will find your smart contract; this is your smart contract written in SolidityThe following is code for an
ERC721Basecontract without specified extensions. It implements all of the logic inside theERC721Base.solcontract; which implements theERC721Astandard.// SPDX-License-Identifier: MIT pragma solidity ^0.8.0; import '@thirdweb-dev/contracts/base/ERC721Base.sol'; contract Contract is ERC721Base { constructor( string memory _name, string memory _symbol, address _royaltyRecipient, uint128 _royaltyBps ) ERC721Base(_name, _symbol, _royaltyRecipient, _royaltyBps) {} }This contract inherits the functionality of
ERC721Basethrough the following steps:- Importing the
ERC721Basecontract - Inheriting the contract by declaring that your contract is an
ERC721Basecontract - Implementing any required methods, such as the constructor
- Importing the
-
After modifying your contract with your desired custom logic, you can deploy it to Moonbeam using Deploy. That will be covered in the next section!
Alternatively, you can deploy a prebuilt contract for NFTs, tokens, or marketplace directly from the thirdweb Explore page:
-
Go to the thirdweb Explore page
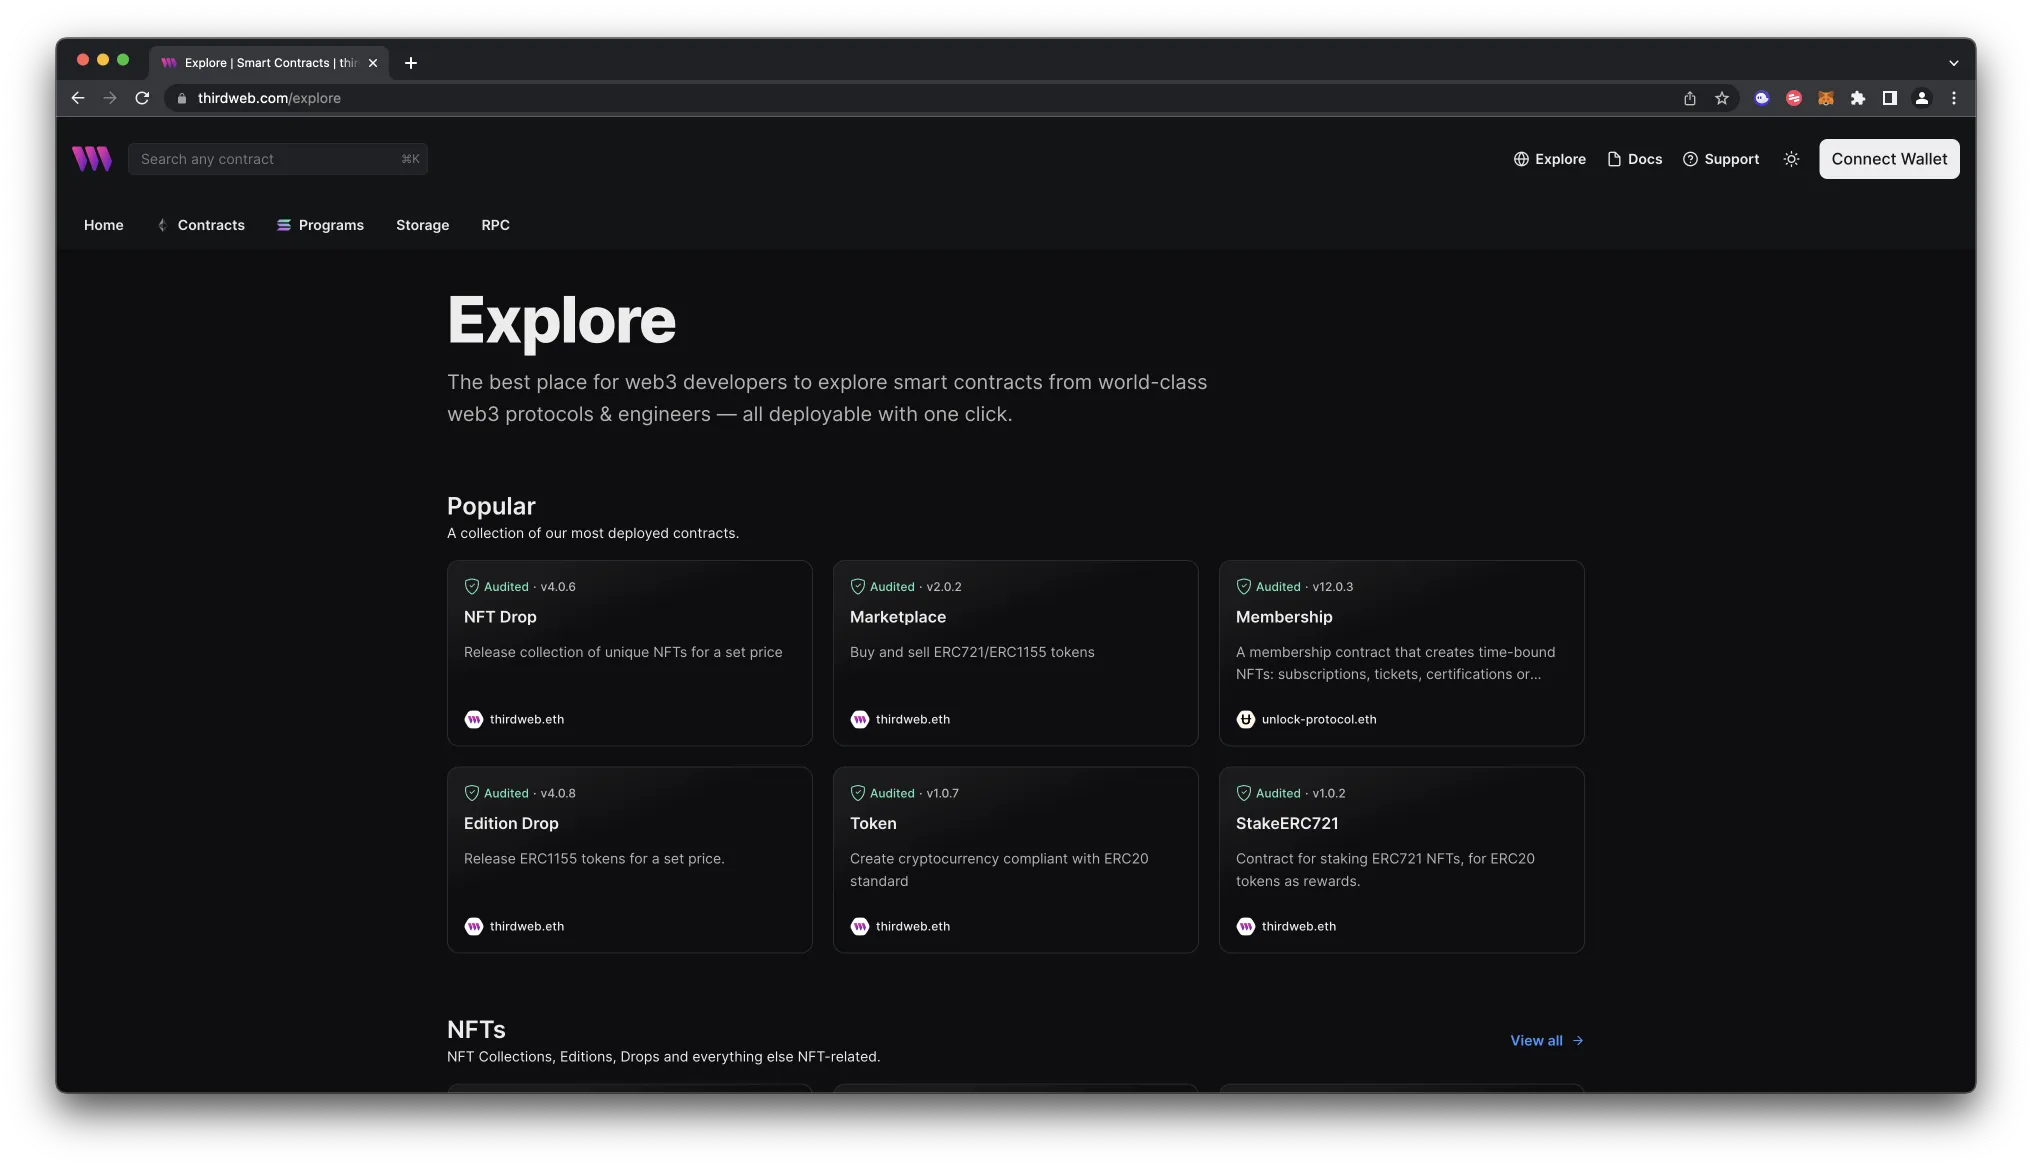
-
Choose the type of contract you want to deploy from the available options: NFTs, tokens, marketplace, and more
- Follow the on-screen prompts to configure and deploy your contract
For more information on different contracts available on Explore, check out thirdweb’s documentation on prebuilt contracts.
Deploy Contract
Deploy is thirdweb's tool that allows you to easily deploy a smart contract to any EVM compatible network without configuring RPC URLs, exposing your private keys, writing scripts, and other additional setup such as verifying your contract.
-
To deploy your smart contract using deploy, navigate to the
contractsdirectory of your project and execute the following command:npx thirdweb deployExecuting this command will trigger the following actions:
- Compiling all the contracts in the current directory
- Providing the option to select which contract(s) you wish to deploy
- Uploading your contract source code (ABI) to IPFS
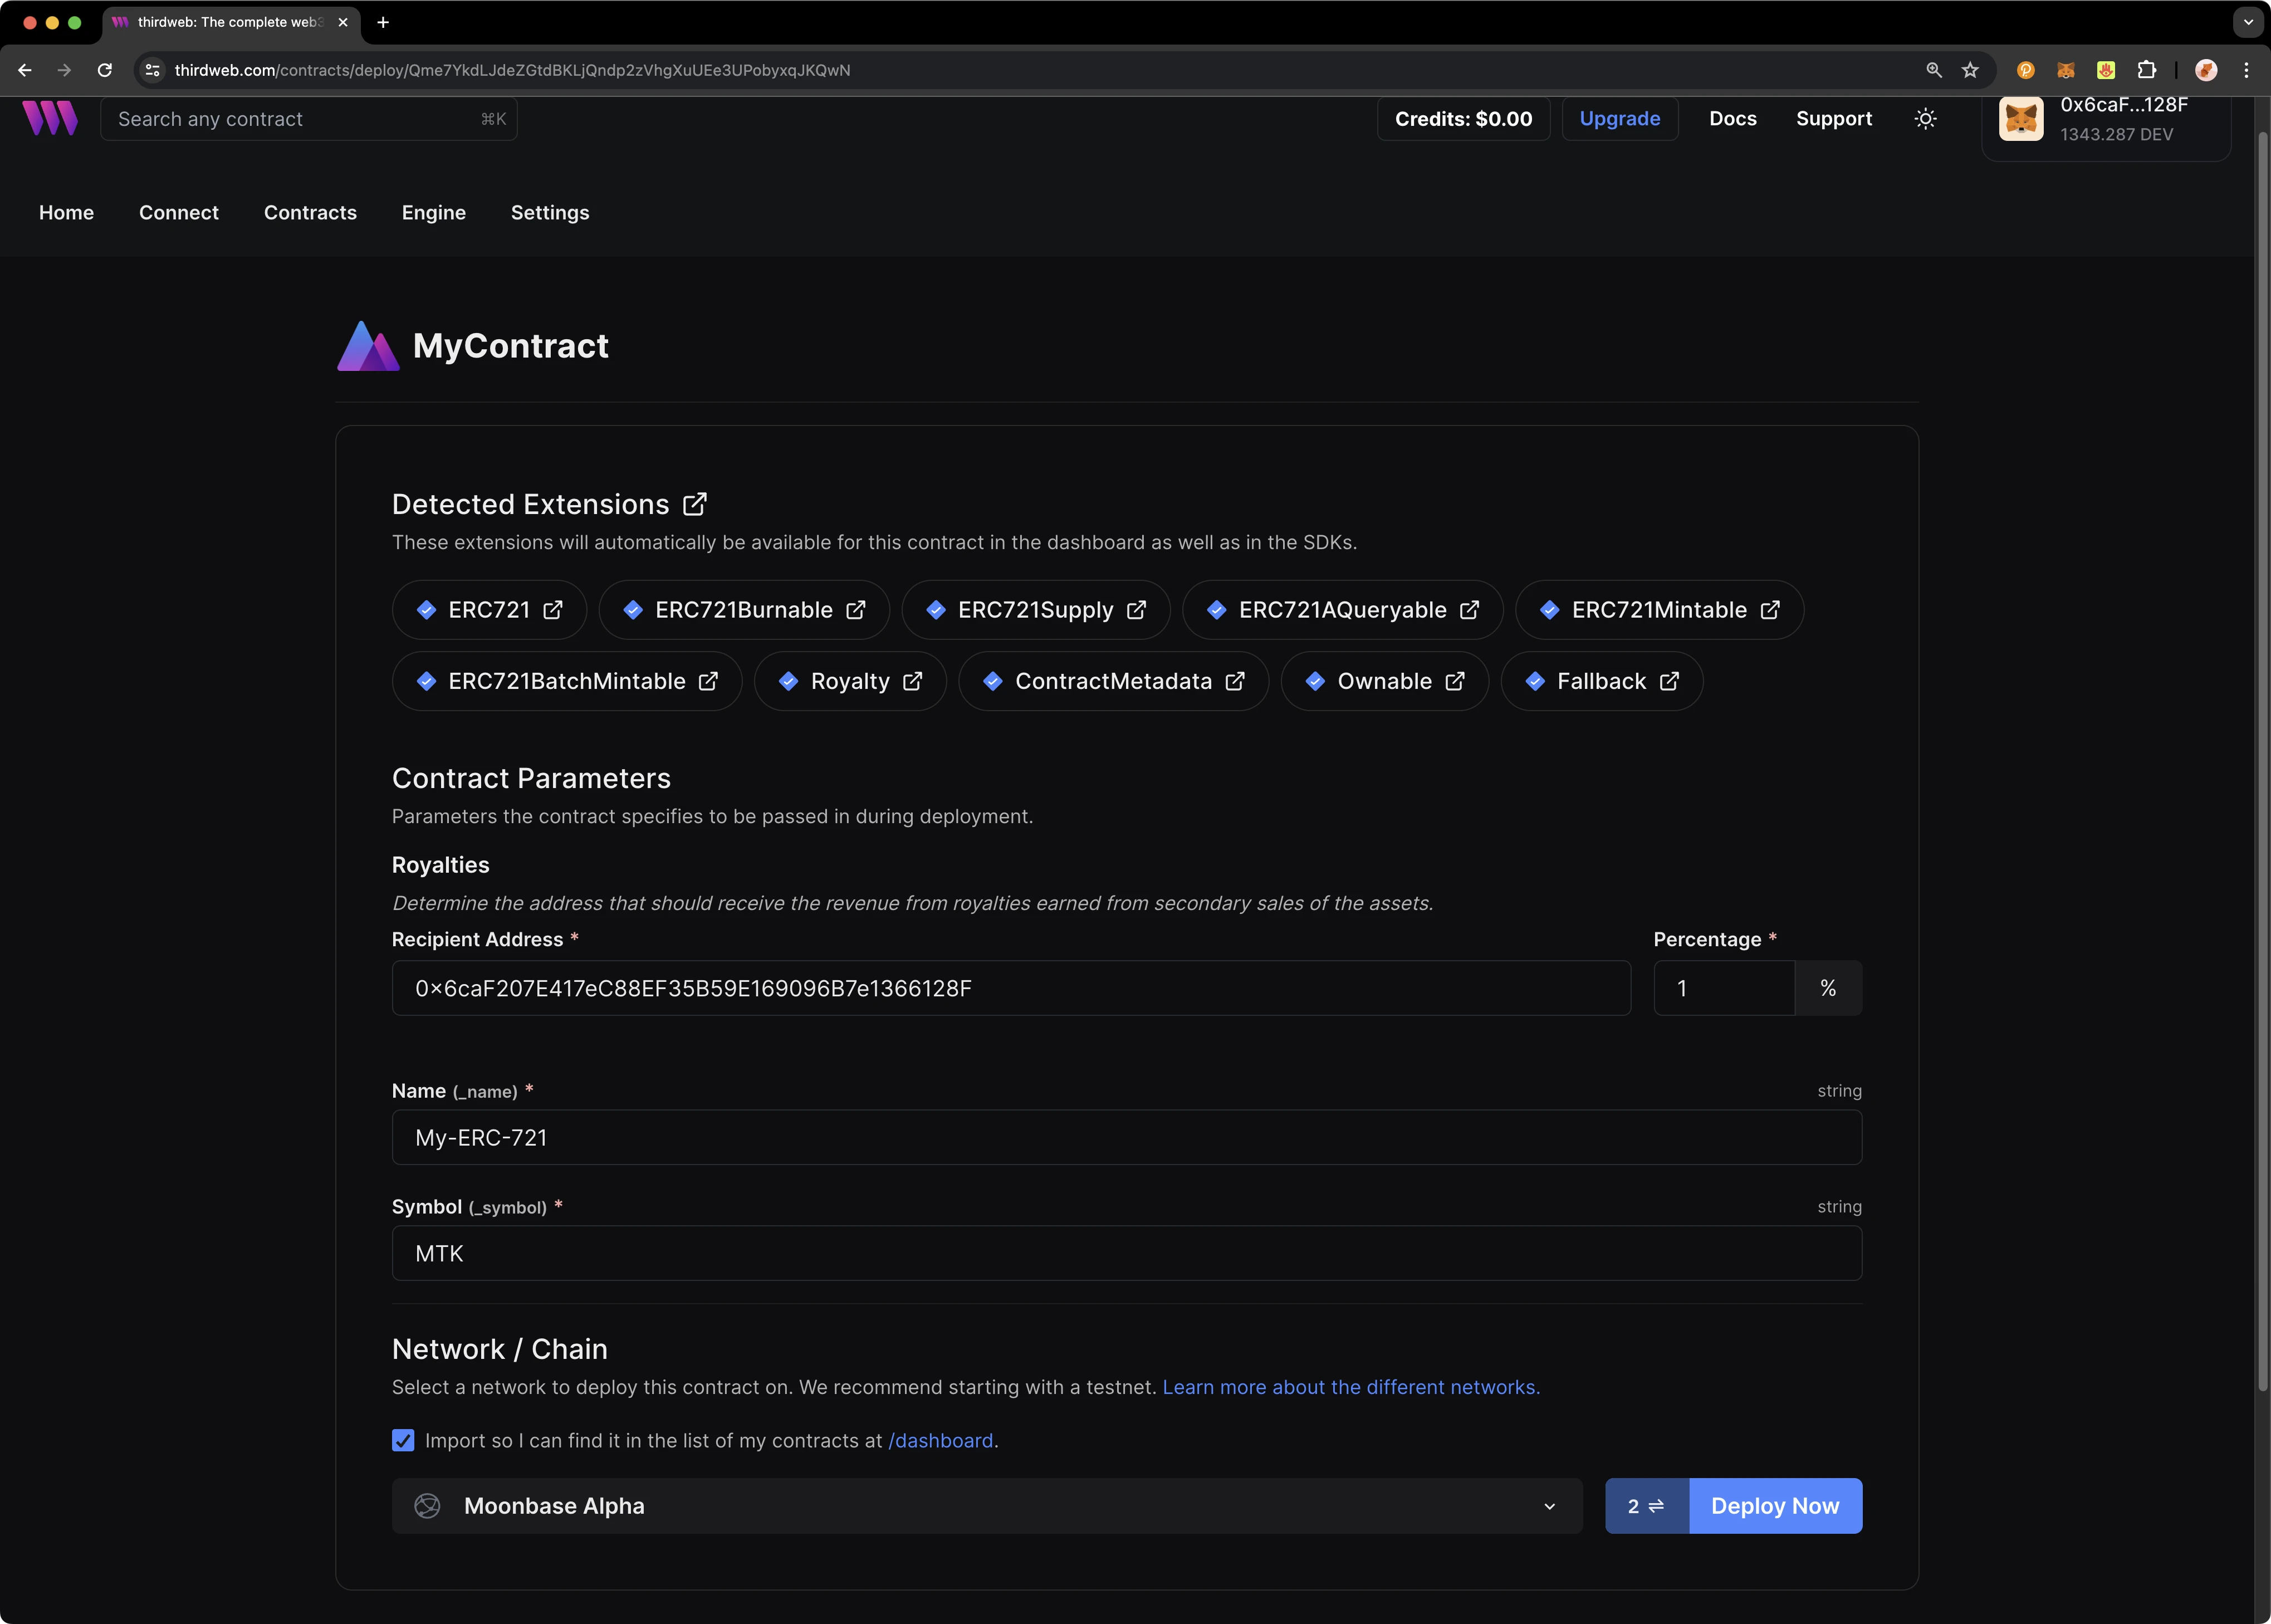
-
When it is completed, it will open a dashboard interface to finish filling out the parameters
_name- contract name_symbol- symbol or "ticker"_royaltyRecipient- wallet address to receive royalties from secondary sales_royaltyBps- basis points (bps) that will be given to the royalty recipient for each secondary sale, e.g. 500 = 5%
-
Select the desired Moonbeam network, e.g., Moonbeam, Moonriver, or Moonbase Alpha
-
Manage additional settings on your contract’s dashboard as needed such as uploading NFTs, configuring permissions, and more
For additional information on Deploy, please reference thirdweb’s documentation.
Create Application
thirdweb offers SDKs for a range of programming languages, such as React, React Native, TypeScript, and Unity. You'll start off by creating an application and then you can choose which SDK to use:
-
In your CLI run the following command:
npx thirdweb create --app -
Input your preferences for the command line prompts:
- Give your project a name
- Choose your preferred framework: Next.js, Vite, or React Native. For this example, select Vite
-
Use the React or TypeScript SDK to interact with your application’s functions. This will be covered in the following section on interacting with a contract
Specify Client ID
Before you launch your dApp (locally or publicly deployed), you must have a thirdweb Client ID associated with your project. A thirdweb Client ID is synonymous with an API key. You can create a free API key by signing into your thirdweb account, navigating to Settings, and clicking on API Keys.
Press Create API Key then take the following steps:
- Give your API key a name
- Enter the allowed domains that the API key should accept requests from. It's recommended that you allow only necessary domains, but for development purposes, you can select Allow all domains
- Press Next and confirm the prompt on the next page

Note
The respective name for your Client ID variable will vary with the framework you've chosen, e.g., Vite will be VITE_TEMPLATE_CLIENT_ID, Next.js will be NEXT_PUBLIC_TEMPLATE_CLIENT_ID, and React Native will be EXPO_PUBLIC_THIRDWEB_CLIENT_ID.
Finally, specify your Client ID (API Key) in your .env file. Your .env file must be located at the root directory of the project (e.g., not the src folder).
If you generated your thirdweb app with Vite, you'll have a client.ts file that looks like the below. As long you've created a .env file with your thirdweb API Key (Client ID) defined in VITE_TEMPLATE_CLIENT_ID, you can leave the client.ts as is and proceed to the next section.
import { createThirdwebClient } from 'thirdweb';

// Replace this with your client ID string.
// Refer to https://portal.thirdweb.com/typescript/v5/client on how to get a client ID
const clientId = import.meta.env.VITE_TEMPLATE_CLIENT_ID;

export const client = createThirdwebClient({
  clientId: clientId,
});
Note
If you don't create a Client ID and specify is correctly in your .env file, you'll get a blank screen when trying to build the web app. There is no error message shown without digging into the console, so ensure you've set your Client ID correctly first and foremost.
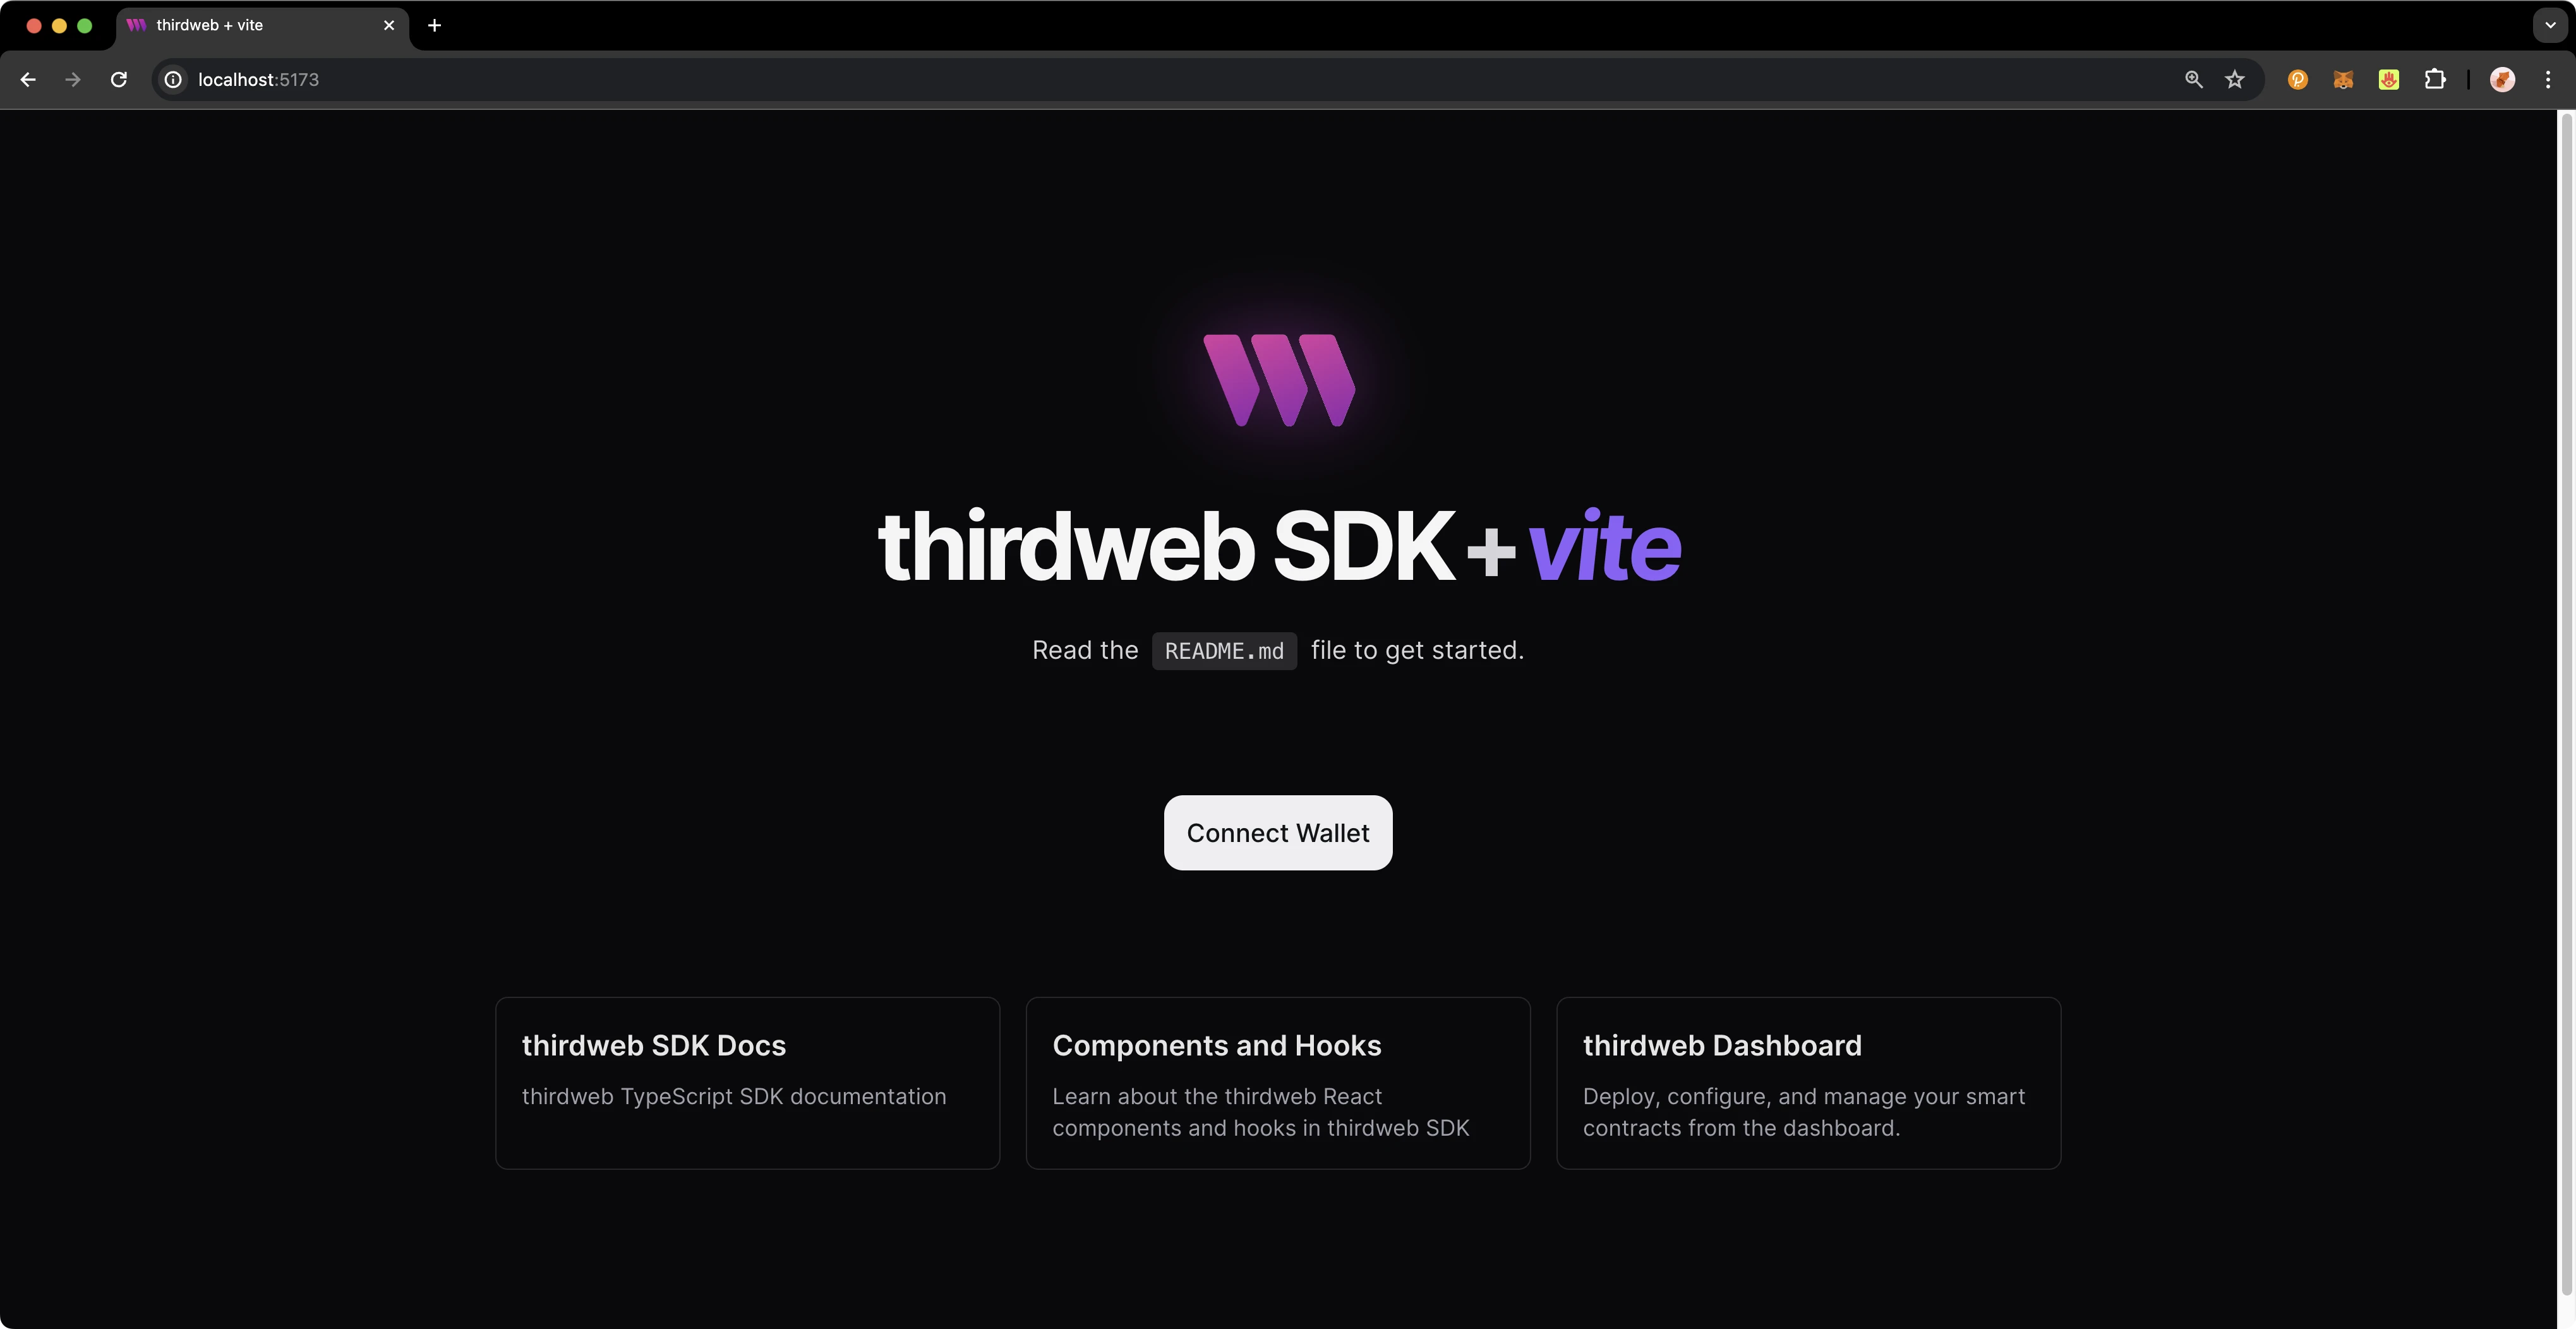
Run Locally
To run your dApp locally for testing and debugging purposes, use the command:
yarn dev
The app will compile and specify the localhost and port number for you to visit in your browser.
Configure Chain
thirdweb offers a small number of chains from @thirdweb/chains and does not include Moonbeam networks in that list, so you'll need to specify the network details including chain ID and RPC URL. You can create a custom chain with defineChain as follows:
import { defineChain } from 'thirdweb';
const moonbeam = defineChain({
  id: 1284,
  rpc: 'https://rpc.api.moonbeam.network',
});
import { defineChain } from 'thirdweb';
const moonriver = defineChain({
  id: 1285,
  rpc: 'https://rpc.api.moonriver.moonbeam.network',
});
import { defineChain } from 'thirdweb';
const moonbase = defineChain({
  id: 1287,
  rpc: 'https://rpc.api.moonbase.moonbeam.network',
});
thirdweb SDK
The following sections will provide an overview of fundamental methods of the thirdweb SDK and how to interact with them. Each code snippet will showcase the relevant import statements and demonstrate using the method in a typical scenario. This guide is intended to be a quick reference guide to the most common thirdweb methods that dApp developers will use. However, it does not include information on each and every thirdweb offering. For details on the entirety of thirdweb's offerings, be sure to visit the thirdweb documentation site.
For a comprehensive, step-by-step guide to building a dApp with thirdweb be sure to check out Moonbeam's thirdweb tutorial in the tutorials section. The following sections will cover everything from connecting wallets, to preparing transactions, and more.
Accounts and Wallets
thirdweb distinguishes between accounts and wallets in the SDK. In the eyes of the thirdweb SDK, an account always has a single blockchain address and can sign messages, transactions, and typed data, but it cannot be "connected" or "disconnected." In contrast, a wallet contains one or more accounts, can be connected or disconnected, and delegates the signing tasks to its accounts.
The below code snippet demonstrates how to initialize and connect a MetaMask wallet using the thirdweb SDK, then sign and send a transaction, retrieving the transaction hash. This process is applicable to any of the 300+ wallet connectors supported by the SDK.
initialize.ts
import { sendTransaction } from 'thirdweb';
// MetaMask wallet used for example, the pattern is the same for all wallets
import { createWallet } from 'thirdweb/wallets';

// Initialize the wallet. thirdweb supports 300+ wallet connectors
const wallet = createWallet('io.metamask');

// Connect the wallet. This returns a promise that resolves to the connected account
const account = await wallet.connect({
  // Pass the client you created with `createThirdwebClient()`
  client,
});

// Sign and send a transaction with the account. Returns the transaction hash
const { transactionHash } = await sendTransaction({
  // Assuming you have called `prepareTransaction()` or `prepareContractCall()` before, which returns the prepared transaction to send
  transaction,
  // Pass the account to sign the transaction with
  account,
});
Get Contract
To connect to your contract, use the SDK’s getContract method. As an example, you could fetch data from an incrementer contract on Moonbase Alpha.
import { getContract } from 'thirdweb';
import { client } from './client';

const myContract = getContract({
  client,
  chain: moonbase,
  address: 0xa72f549a1a12b9b49f30a7f3aeb1f4e96389c5d8, // Incrementer contract address on Moonbase Alpha
  abi: '[{"inputs":[],"name":"increment","outputs":[],"stateMutability":"nonpayable","type":"function"},{"inputs":[],"name":"number","outputs":[{"internalType":"uint256","name":"","type":"uint256"}],"stateMutability":"view","type":"function"},{"inputs":[],"name":"timestamp","outputs":[{"internalType":"uint256","name":"","type":"uint256"}],"stateMutability":"view","type":"function"}]';
});
Calling Contract Functions
To call a contract in the latest version of the SDK, you can use prepareContractCall.
import { prepareContractCall, toWei } from 'thirdweb';

const tx = prepareContractCall({
  contract,
  // Pass the method signature that you want to call
  method: 'function mintTo(address to, uint256 amount)',
  // Pass the params for that method.
  // Their types are automatically inferred based on the method signature
  params: ['0x123...', toWei('100')],
});
Returning to our incrementer contract, preparing a call to increment the contract looks like the following:
import { prepareContractCall } from 'thirdweb';

const tx = prepareContractCall({
  contract,
  // Pass the method signature that you want to call
  method: 'function increment()',
  // Increment takes no params so we are leaving an empty array
  params: [],
});
Preparing Raw Transactions
You can also prepare a transaction directly with encoded data. To do so, you'll use thirdweb's prepareTransaction method and specify the to, value, chain, and client values directly.
import { prepareTransaction, toWei } from 'thirdweb';

const transaction = prepareTransaction({
  // The account that will be the receiver
  to: '0x456...',
  // The value is the amount of ether you want to send with the transaction
  value: toWei('1'),
  // The chain to execute the transaction on. This assumes you already set up
  // moonbase as a custom chain as shown in the configure chain section
  chain: moonbase,
  // Your thirdweb client
  client,
});
Reading Contract State
Use the readContract function to call any read functions on your contract by passing in the Solidity method signature and any parameters.
import { readContract } from 'thirdweb';

const balance = await readContract({
  contract: contract,
  method: 'function balanceOf(address) view returns (uint256)',
  params: ['0x123...'],
});
For a function that takes no parameters, such as the number function that returns the current number stored in the incrementer contract, you simply need to provide the function name as follows:
import { readContract } from 'thirdweb';

const number = await readContract({
  contract: contract,
  method: 'number',
  params: [],
});
Did you know? With the thirdweb CLI, you can easily and generate functions for all of the possible calls to a contract. To do so, run the following command in the command line:
npx thirdweb generate INSERT_CHAIN_ID/INSERT_CONTRACT_ADDRESS
Both the chain ID and the contract address are required. As an example, if you wanted to generate the functions for the incrementer contract on Moonbase Alpha , you would use the following command:
npx thirdweb generate 1287/0xa72f549a1a12b9b49f30a7f3aeb1f4e96389c5d8
The file generated with all of the corresponding methods will be placed in a directory labelled thirdweb/CHAIN_ID/CONTRACT_ADDRESS. In the example shown above, the output file is located at thirdweb/1287/0xa72f549a1a12b9b49f30a7f3aeb1f4e96389c5d8.ts. For more information, see the thirdweb's docs on the CLI.
Sending a Transaction
Every transaction sent using the SDK must first be prepared. This preparation process is synchronous and lightweight, requiring no network requests. Additionally, it provides type-safe definitions for your contract calls.
You can prepare a transaction as follows:
import { prepareTransaction, toWei } from 'thirdweb';

const transaction = prepareTransaction({
  to: '0x1234567890123456789012345678901234567890',
  chain: moonbase,
  client: thirdwebClient,
  value: toWei('1.0'),
  gasPrice: 150n,
});
After the transaction is prepared, you can send it as follows:
import { sendTransaction } from 'thirdweb';

const { transactionHash } = await sendTransaction({
  account,
  transaction,
});
You can optionally use sendAndConfirmTransaction to wait for the transaction to be mined. This is relevant if you want to block the user from continuing until the transaction is confirmed.
import { sendAndConfirmTransaction } from 'thirdweb';
import { createWallet } from 'thirdweb/wallets';

const wallet = createWallet('io.metamask');
const account = await wallet.connect({ client });

const receipt = await sendAndConfirmTransaction({
  transaction,
  account,
});
Transaction Utilities
thirdweb provides a number of helpful utility methods surrounding preparing and sending transactions.
You can estimate the gas used by a transaction as follows:
import { estimateGas } from 'thirdweb';

const gasEstimate = await estimateGas({ transaction });
console.log('estmated gas used', gasEstimate);
You can estimate the gas cost in Ether and Wei as follows:
import { estimateGas } from 'thirdweb';

const gasCost = await estimateGasCost({ transaction });
console.log('cost in ether', gasCost.ether);
thirdweb also provides a handy way to simulate transactions and verify their integrity before actually submitting it to the blockchain. You can simulate a transaction as follows:
import { simulateTransaction } from 'thirdweb';

const result = await simulateTransaction({ transaction });
console.log('simulation result', result);
You can encode transaction data to act on later by taking the following steps:
import { encode } from 'thirdweb';

const data = await encode(transaction);
console.log('encoded data', data);
ConnectButton
Perhaps the first and most important interaction users will have with your dApp is connecting their wallet. thirdweb provides an easy and highly customizable way for you to enable this. thirdweb provides a highly customizable ConnectButton to tailor it to your desired wallets. The ConnectButton accepts an optional wallets parameter with an array of wallets. You can add or remove wallets from the wallets array to change the options available to users. thirdweb also offers a ConnectButton Playground to customize and view changes for the ConnectButton in real-time, given the button's high degree of flexibility.
import { ConnectButton } from 'thirdweb/react';
import { createWallet, inAppWallet } from 'thirdweb/wallets';

const wallets = [
  inAppWallet(),
  createWallet('io.metamask'),
  createWallet('com.coinbase.wallet'),
  createWallet('me.rainbow'),
];

function Example() {
  return (
    <div>
      <ConnectButton client={client} wallets={wallets} />
    </div>
  );
}
Deploy Application
As a reminder, you can build your example project locally by running:
yarn dev
To host your static web application on decentralized storage, run:
npx thirdweb deploy --app
By running this command, your application is built for production and stored using Storage, thirdweb's decentralized file management solution. The built application is uploaded to IPFS, a decentralized storage network, and a unique URL is generated for your application. This URL serves as a permanent hosting location for your application on the web.
If you have any further questions or encounter any issues during the process, please reach out to thirdweb support at support.thirdweb.com.
| Created: June 20, 2023