Using Scaffold-ETH 2 to Deploy a DApp on Moonbeam
Introduction
Scaffold-ETH 2 is a collection of commonly used Ethereum development tools to quickly deploy a Solidity smart contract and launch a DApp with a React frontend.
Scaffold-ETH 2 consists of several sub-components, including Hardhat for creating, deploying, and testing smart contracts and Next.js for building a React frontend. These components can be used on Moonbeam networks with some slight modifications.
This guide will walk through the steps to deploy and run the default example contract and DApp that Scaffold-ETH 2 comes with on a Moonbeam network.
Checking Prerequisites
To get started, you will need the following:
- An account with funds. You can get DEV tokens for testing on Moonbase Alpha once every 24 hours from the Moonbase Alpha Faucet
- A Moonscan API key
- To test out the examples in this guide on Moonbeam or Moonriver, you will need to have your own endpoint and API key, which you can get from one of the supported Endpoint Providers
Installing Scaffold-ETH 2
First, download Scaffold-ETH 2 from GitHub.
From the command line, enter:
git clone https://github.com/scaffold-eth/scaffold-eth-2.git
After the download completes, run:
yarn install
The Development Process with Scaffold-ETH 2
The process for developing a project with Scaffold-ETH 2 can be outlined as follows:
- Update the network configurations in Hardhat for Moonbeam
- Add your smart contracts to the
packages/hardhat/contracts - Edit your deployment scripts in the
packages/hardhat/deploy - Deploy your smart contracts to Moonbeam
- Verify your smart contracts with the Etherscan plugin and your Moonscan API key
- Configure your frontend to target Moonbeam in the
packages/nextjs/scaffold.config.tsfile - Edit your frontend as needed in the
packages/nextjs/pagesdirectory
In this guide, you can use the default contract and frontend that you get out of the box when you clone the Scaffold-ETH 2 repository. All you'll have to do is modify these components for Moonbeam.
The Hardhat Component
In the following sections, you'll update the network configurations in the Hardhat configuration file to target the Moonbeam-based network you want to interact with, and deploy and verify the example contract to that network.
Configure Hardhat for Moonbeam
You can begin by making modifications to the Hardhat component under the packages/hardhat folder. You'll primarily be editing the hardhat.config.js file to configure it for Moonbeam. However, you'll also need to create a .env file to store a couple of variables that will be consumed by the hardhat.config.js file.
You can refer to the .env.example file for the variables that are already used in the hardhat.config.js file. For Moonbeam, you'll only need to manually create one variable, the ETHERSCAN_API_KEY.
Check out the Etherscan Plugins documentation to learn how to generate a Moonscan API key.
To get started, create a .env file:
touch packages/hardhat/.env
Edit your .env file to include the following variables:
ETHERSCAN_API_KEY=INSERT_MOONSCAN_API_KEY
Next, import your deployment account by either generating a new one with yarn generate or importing an existing one using yarn account:import. If importing, you'll need to provide your private key and create a password to encrypt it. The encrypted key will be saved in your .env file. Keep your password safe as you'll need it to decrypt the private key for future deployments. Remember to never share or commit your private keys or .env file. For this example, we'll import an existing private key with the following command:
yarn account:import
The private key you add in the account import workflow corresponds to the account that will deploy and interact with the smart contracts in your Hardhat project. Additionally, the Etherscan API key will correspond to your Moonscan API key and will be used to verify your deployed smart contracts. To learn how to generate a Moonscan API key, check out the Etherscan Plugins documentation.
With the deployment account and the Etherscan API key taken care of, next you can modify the hardhat.config.js file for Moonbeam:
-
Set the constant
defaultNetworkto the network you are deploying the smart contract todefaultNetwork = 'moonbeam';defaultNetwork = 'moonriver';defaultNetwork = 'moonbaseAlpha';defaultNetwork = 'moonbeamDevNode'; -
Add the network configurations for the Moonbeam network you want to interact with under the
networksconfiguration objectmoonbeam: { url: "INSERT_RPC_API_ENDPOINT", accounts: [deployerPrivateKey], },moonriver: { url: "INSERT_RPC_API_ENDPOINT", accounts: [deployerPrivateKey], },moonbaseAlpha: { url: "https://rpc.api.moonbase.moonbeam.network", accounts: [deployerPrivateKey], },moonbeamDevNode: { url: "http://127.0.0.1:9944", accounts: [deployerPrivateKey], },To test out the examples in this guide on Moonbeam or Moonriver, you will need to have your own endpoint and API key, which you can get from one of the supported Endpoint Providers.
For more information on using Hardhat with Moonbeam, please check the dedicated Hardhat page for more details.
Deploy Your Contract to Moonbeam
After all the modifications to the configuration files are done, you can deploy your contract to the configured Moonbeam-based network.
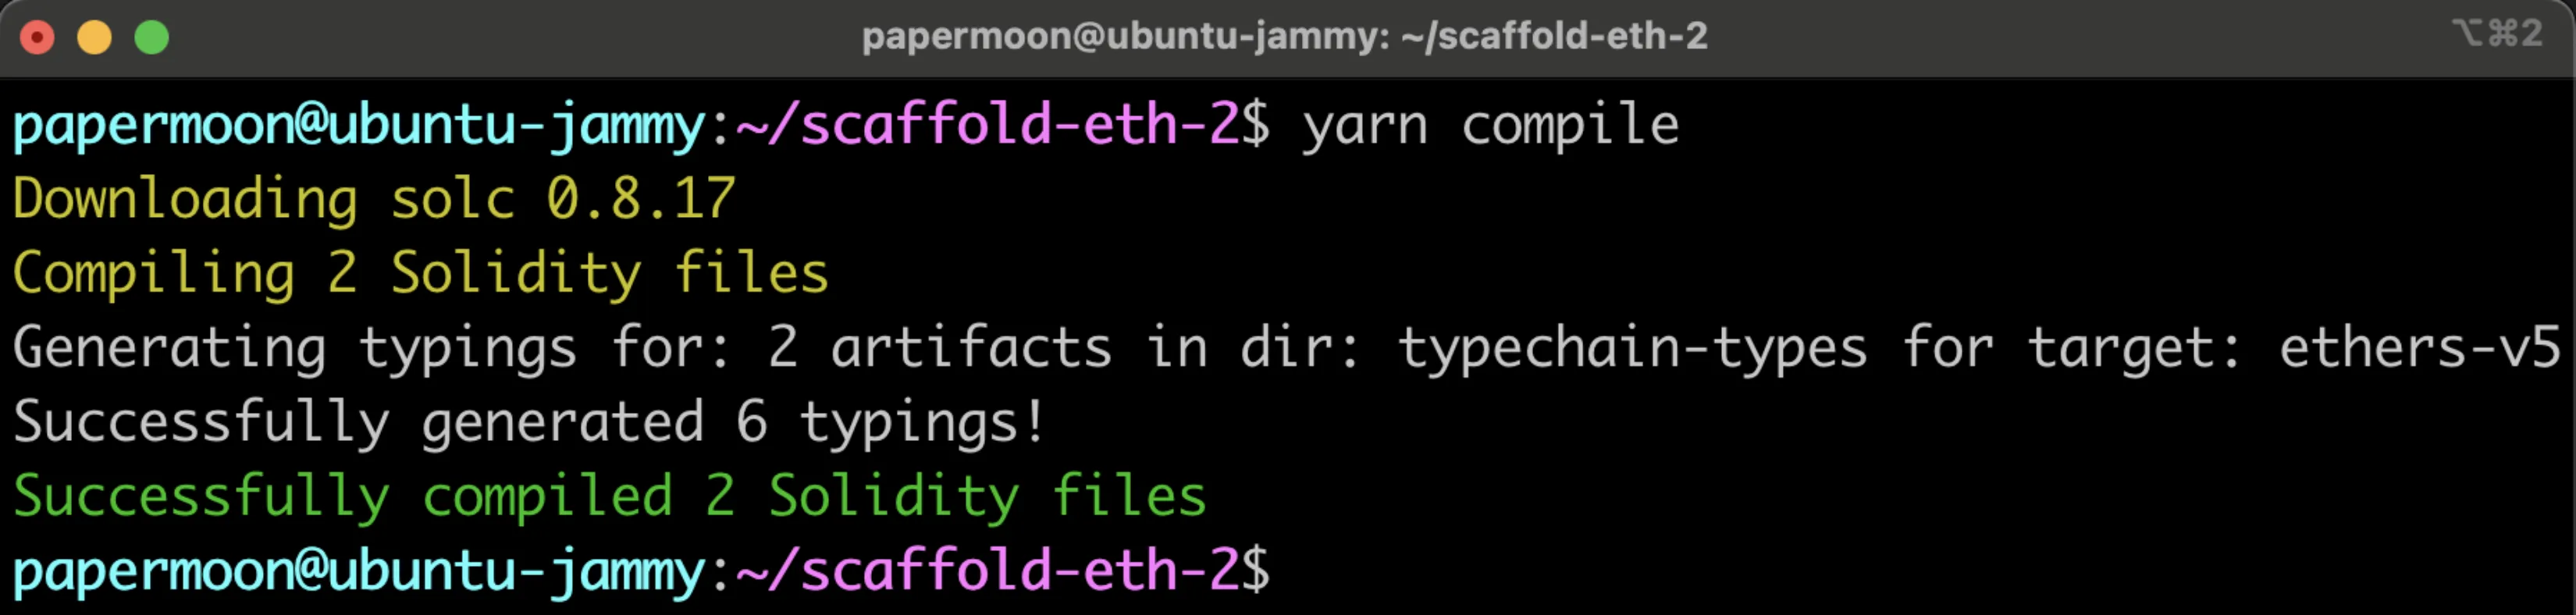
First, you can compile your contract by running:
yarn compile
Then, you can run the following command from the root directory of your project:
yarn deploy
Note
If you did not set the defaultNetwork config in the hardhat.config.js file, you can append --network INSERT_NETWORK to the command. For example, the following command would deploy a contract to Moonbeam.
yarn deploy --network moonbeam
Verify Your Deployed Contract
If you would also like to use Scaffold-ETH 2 to verify the deployed smart contract and have entered your Moonscan API key into the .env file, you can go ahead and verify your deployed contract.
If the smart contract you are verifying has constructor method parameters, you will also need to append the parameters used to the end of the command.
You can use the following command to verify the smart contract:
yarn verify --api-url https://api-moonbeam.moonscan.io
yarn verify --api-url https://api-moonriver.moonscan.io
yarn verify --api-url https://api-moonbase.moonscan.io
Note
If you did not set the defaultNetwork configuration in the hardhat.config.js file, you can append --network INSERT_NETWORK to the command. For example, the following command would verify a contract on Moonbeam.
yarn verify --network moonbeam --api-url https://api-moonbeam.moonscan.io
After a short wait, the console output will display the verification result and, if successful, the URL to the verified contract on Moonscan.
For more information about verifying smart contracts on Moonbeam using the Hardhat Etherscan plugin, please refer to the Etherscan Plugins page.
The Next.js Component
In the following sections, you'll modify the Next.js configuration so that it targets the Moonbeam-based network that your contract has been deployed to, and then you'll launch the dApp.
Configure the DApp for Moonbeam
To target the Moonbeam-based network that you deployed your smart contract to, you'll need to edit the configurations in the packages/nextjs/scaffold.config.ts file. More specifically, you'll need to modify the targetNetworks array in the scaffoldConfig object. You can use the list of chains that viem provides to specify the chain(s) you've deployed your contract to.
targetNetworks: [chains.moonbeam],
targetNetworks: [chains.moonriver],
targetNetworks: [chains.moonbaseAlpha],
targetNetworks: [chains.moonbeamDev],
That's all you have to do to configure Next.js! Next, you can launch the dApp.
Launch the DApp
After all the modifications to the configuration files are done, you can launch the example dApp. To do so, you can run:
yarn start
This will launch the React-based DApp frontend at http://localhost:3000/ by default. You can then point your browser to http://localhost:3000/ and interact with the React frontend by connecting your wallet or checking out the contract debugger page.
And that's it! Now that you have the basics down, feel free to create and deploy your own smart contracts and modify the frontend to fit your dApp's needs! For more information, you can check out the Scaffold-ETH 2 docs.
| Created: July 7, 2025